Well lads, I’ve been a bit stalled on the B40 lately as I’ve been helping a mate sort out his septic system. Truth be told, I still am. At this point though I’ve got my monitoring system all set up and it’s sitting in “watch and wait” mode while we try to figure out where the trouble’s coming from. You know me… had to collect the data (learned that from google….)

I’m completely done with the “shitty job” jokes. Absolutely finished. Aye, that’s a lie of course, but I’ll spare you all the details here. If anyone’s genuinely interested in talking sh… er… waste management, give me a shout. The rest of ye can carry on with your supper. 😄
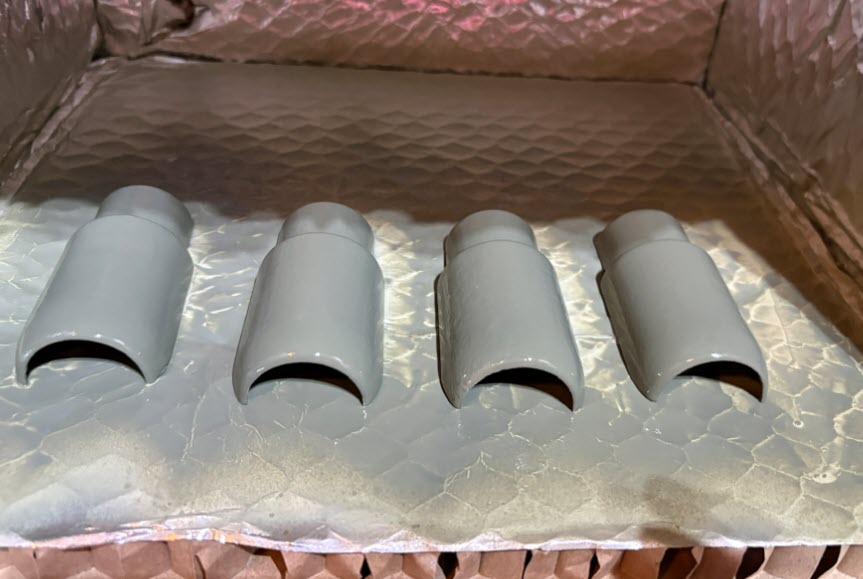
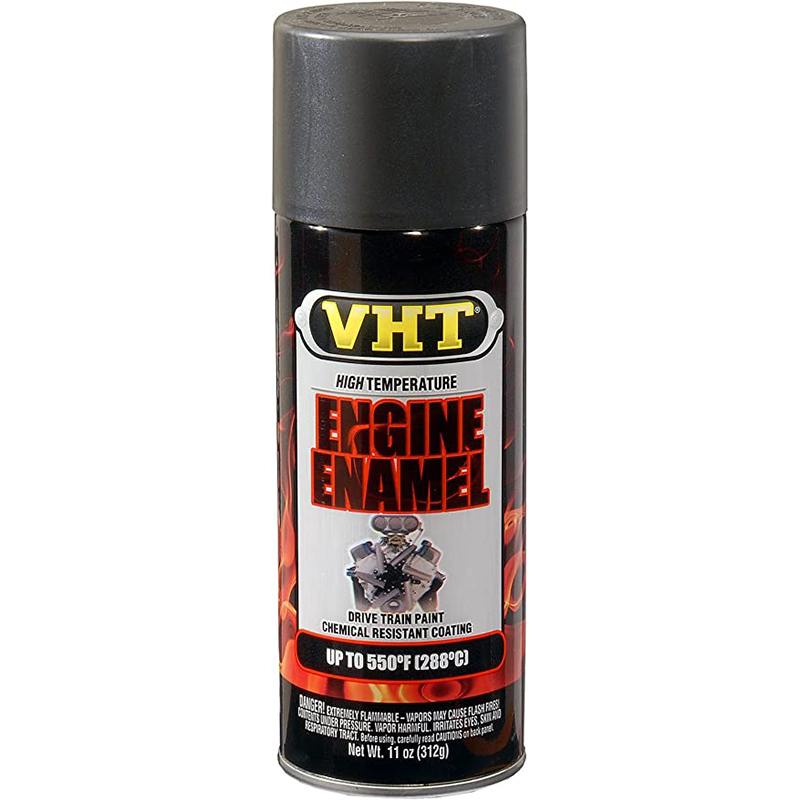
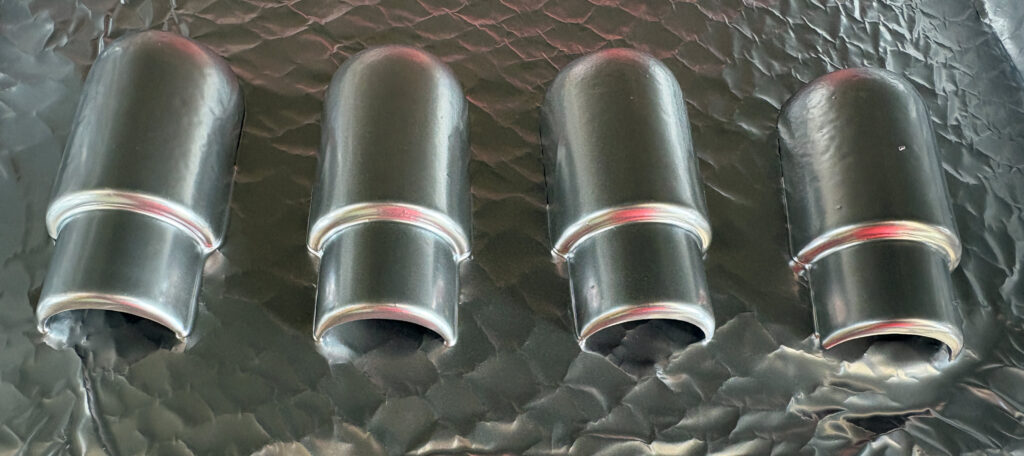
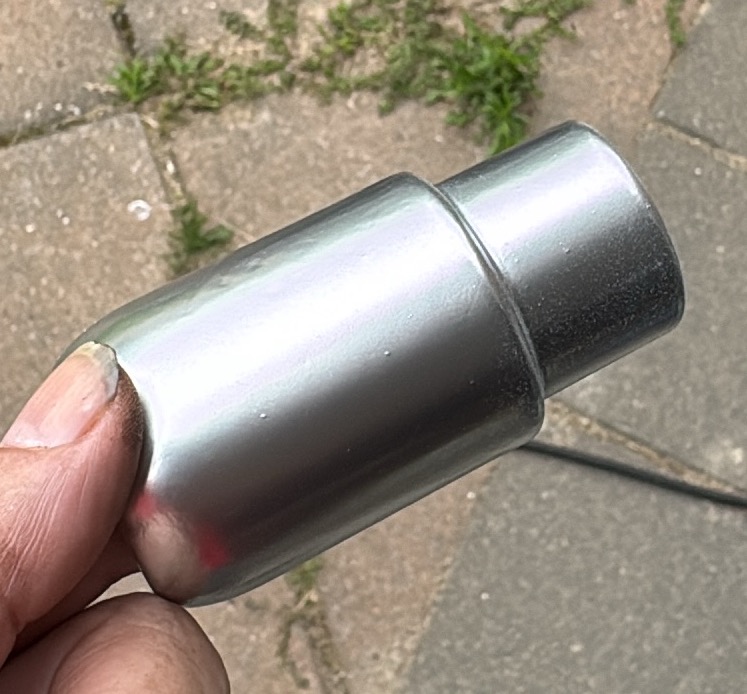
Back in the shed, I’ve painted the chrome spacer pieces for the rear shocks with my favourite “Chromish” paint. I haven’t even put the clear coat on yet to make them really shine, but crikey, I’m quite chuffed with how they’ve turned out. Not bad for a daft old Scotsman-ish (at least a scottish wifey) waving a spray can about and hoping for the best.
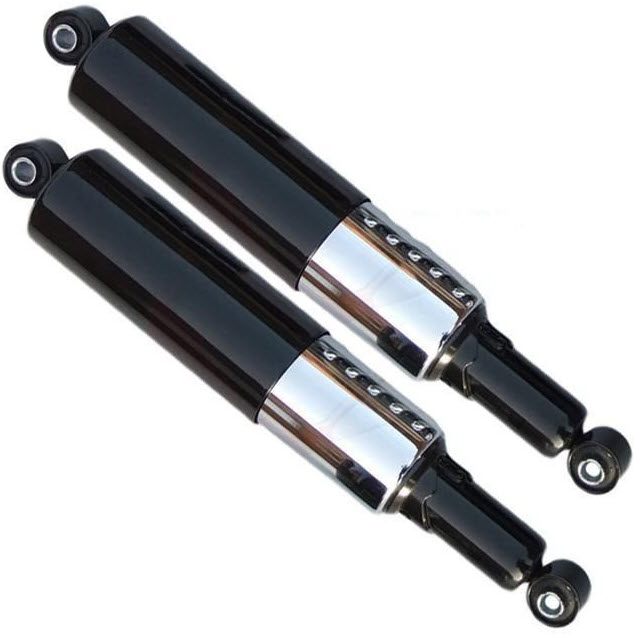
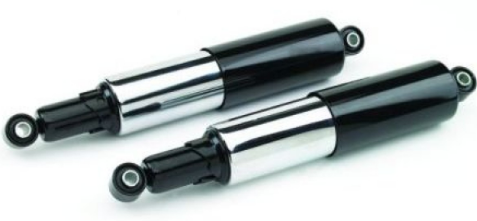
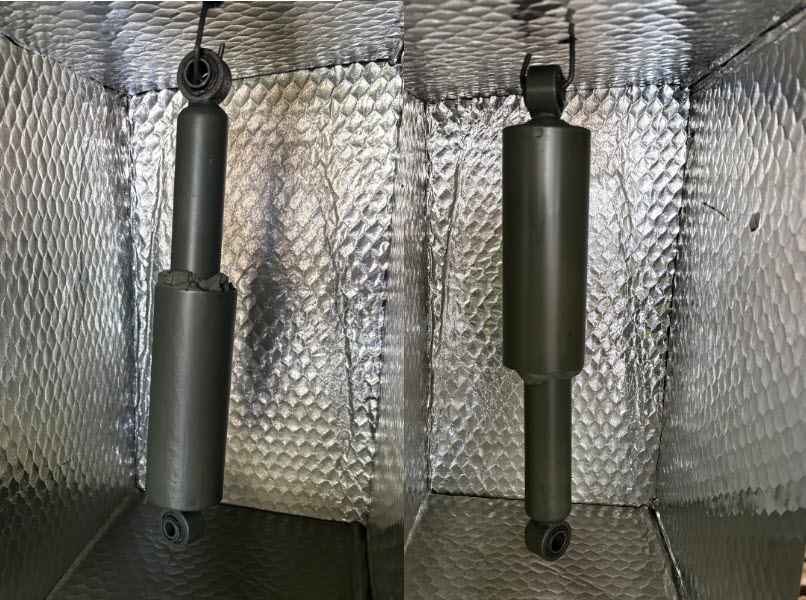
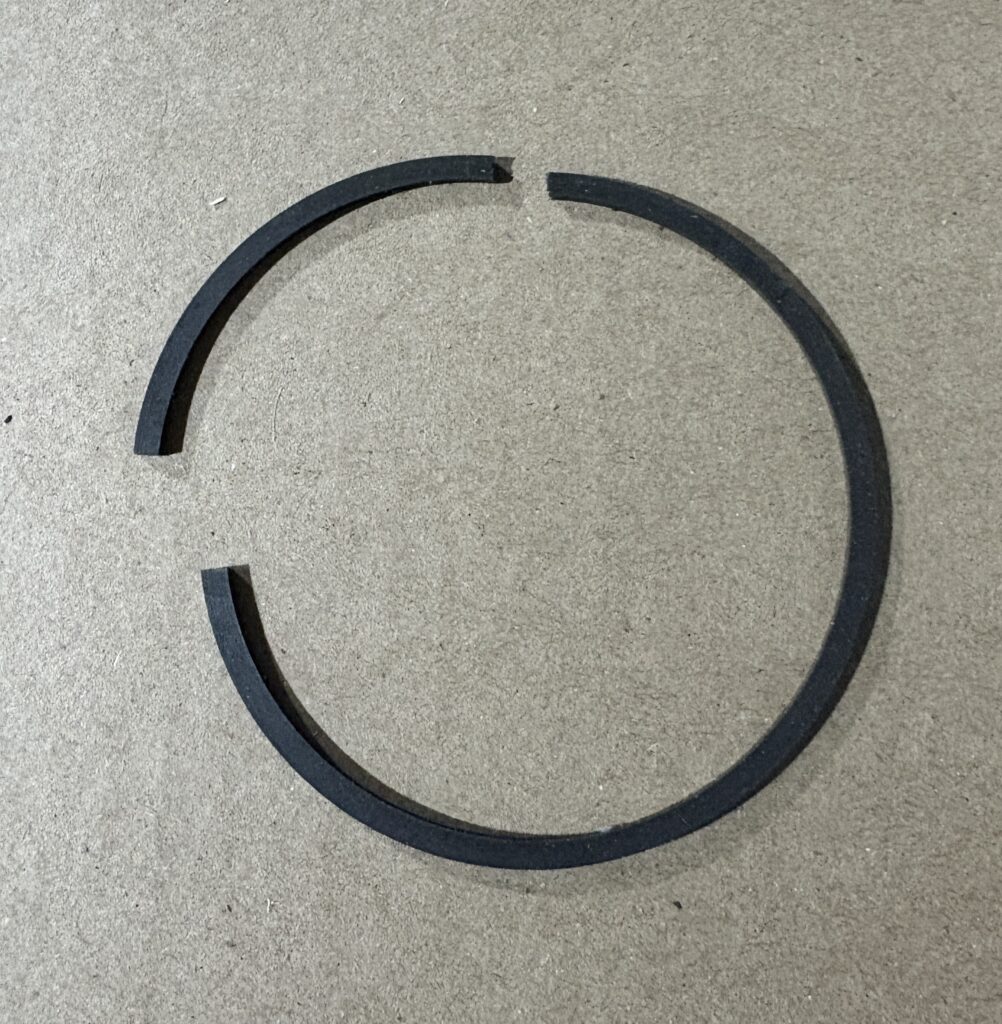
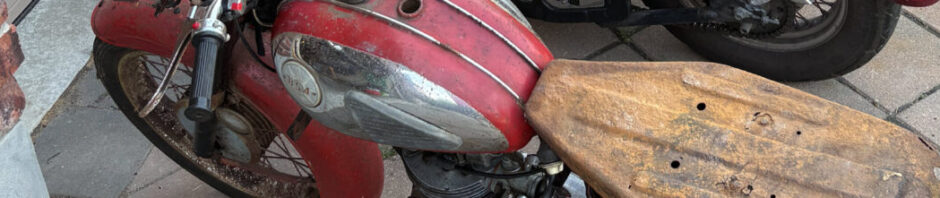
I downloaded a picture of a new set so you can get an idea of what mine should look like once everything’s finished and bolted back together. The shocks themselves are primed and waiting for their coat of black paint. One step at a time, eh? Rome wasn’t built in a day, and neither was a B40 — especially not by a bloke who keeps wandering off to play with septic pumps.
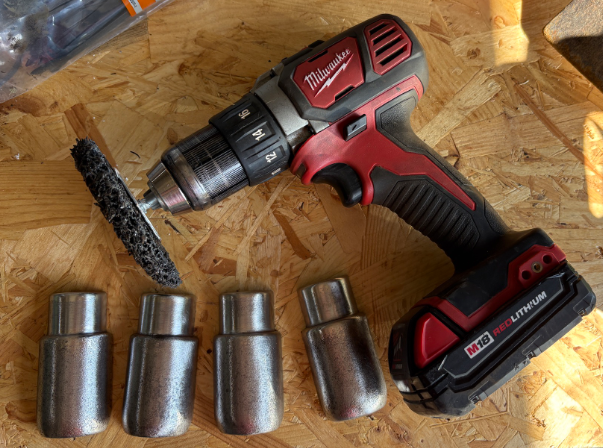
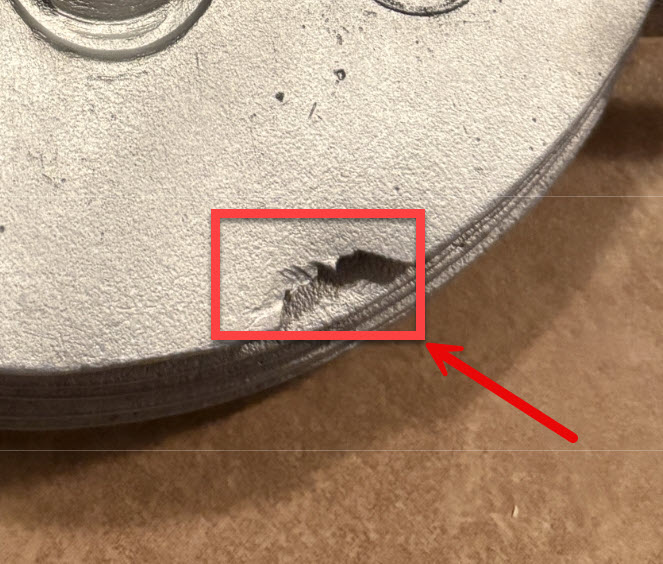
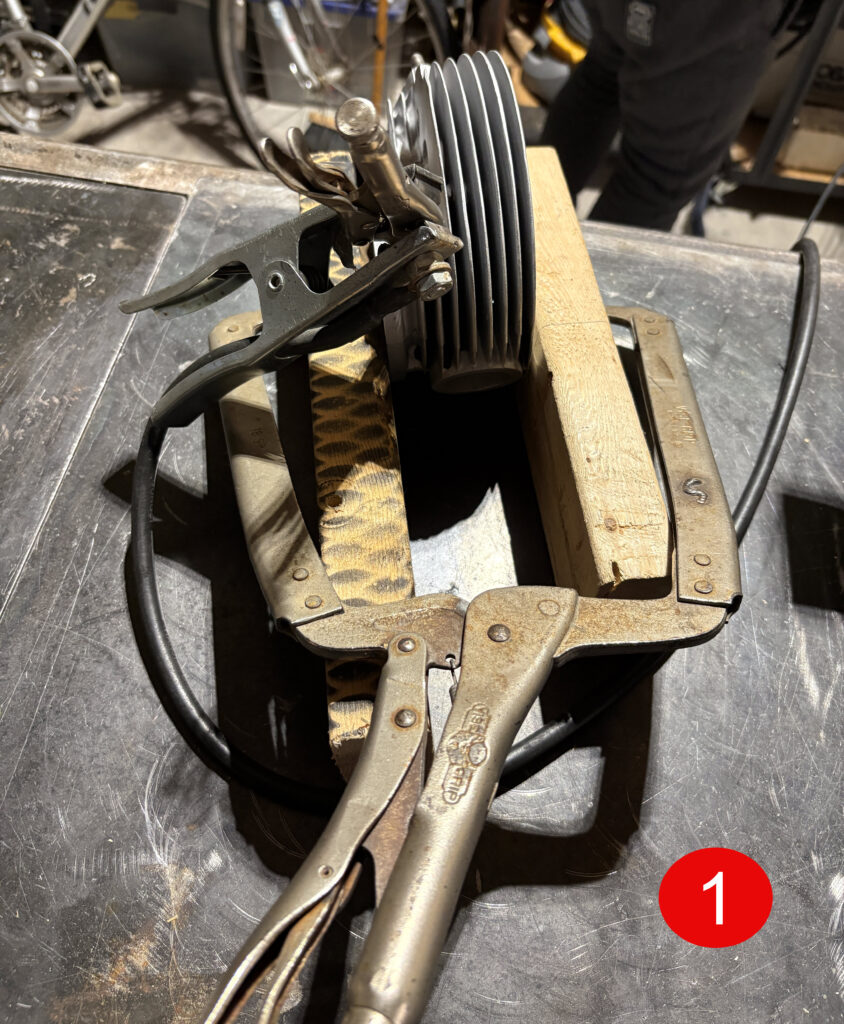
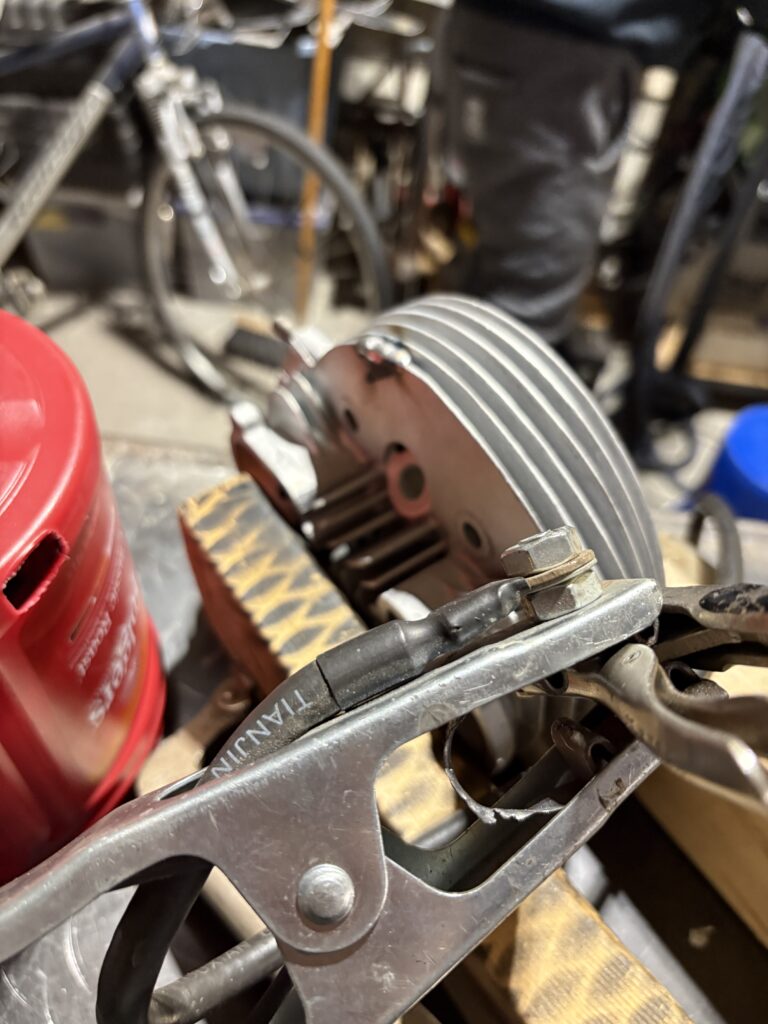
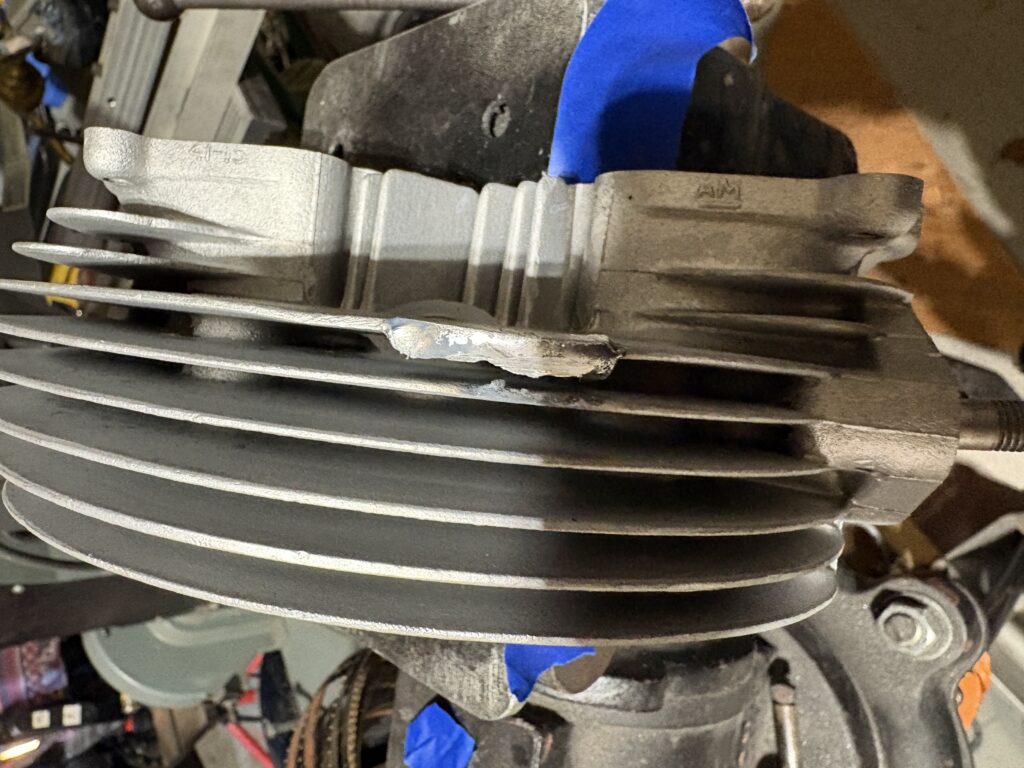
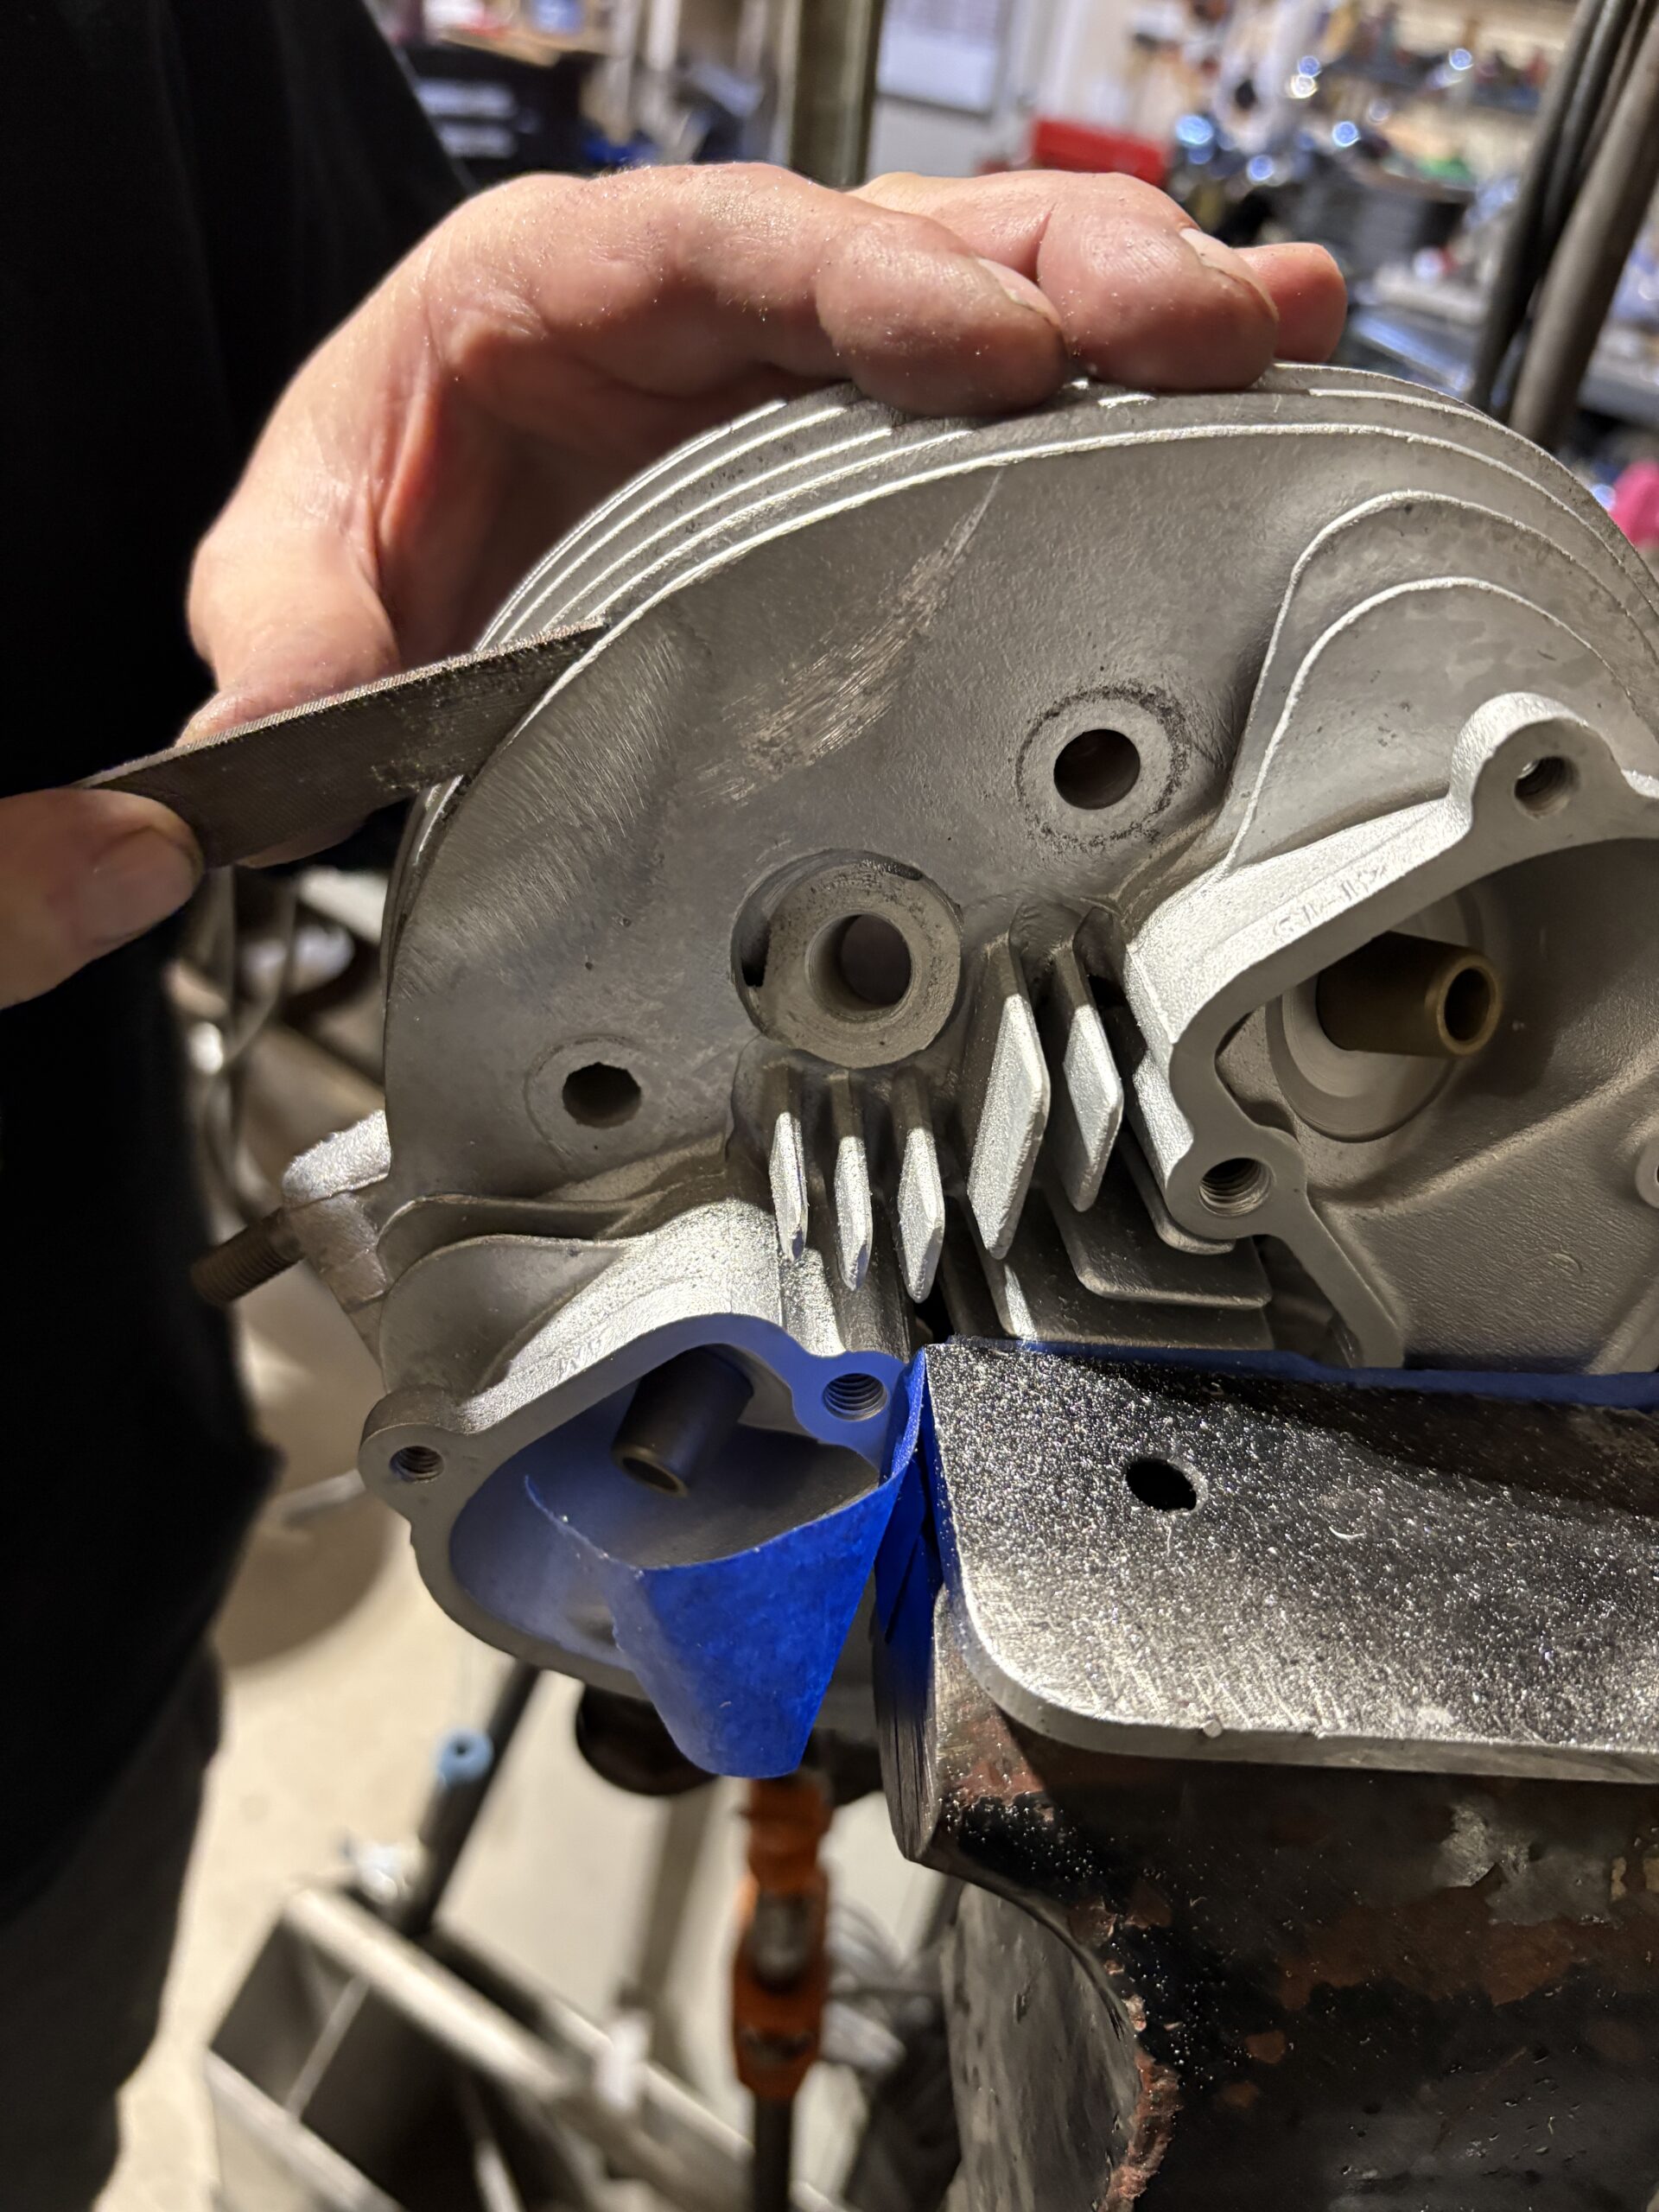
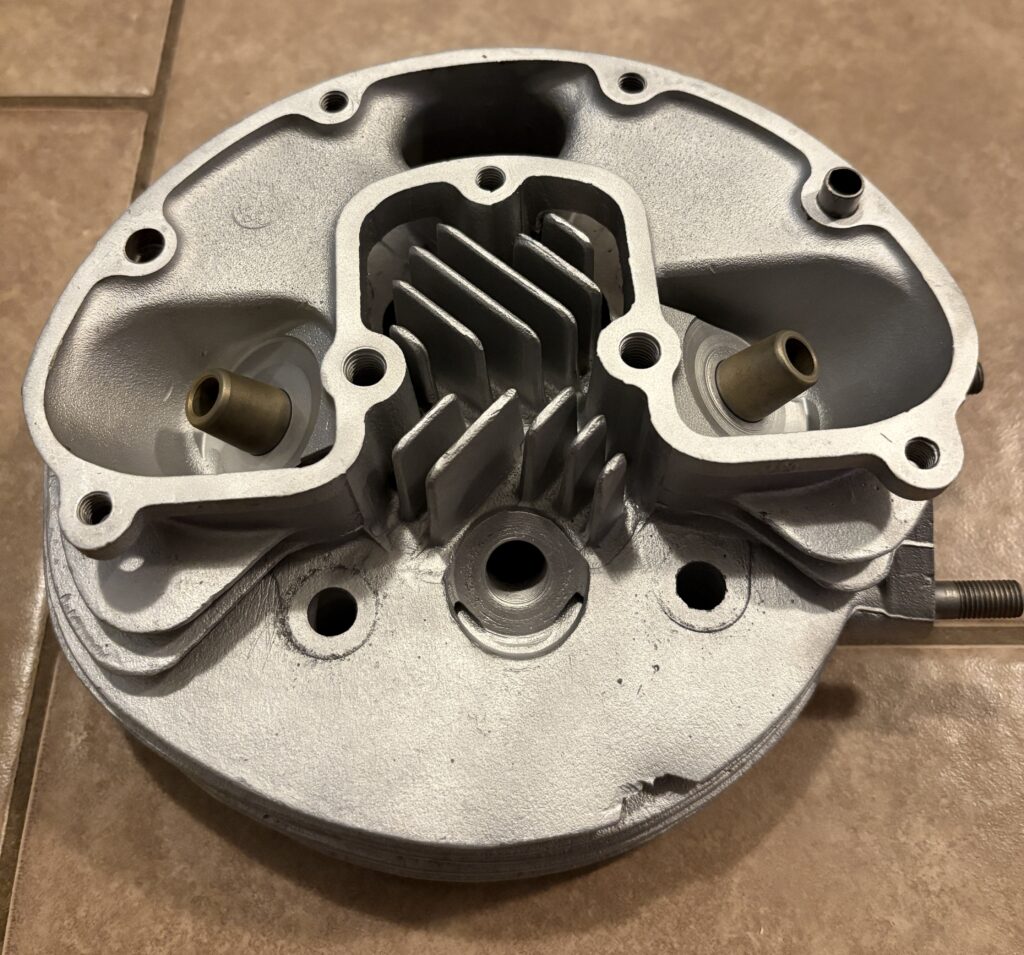
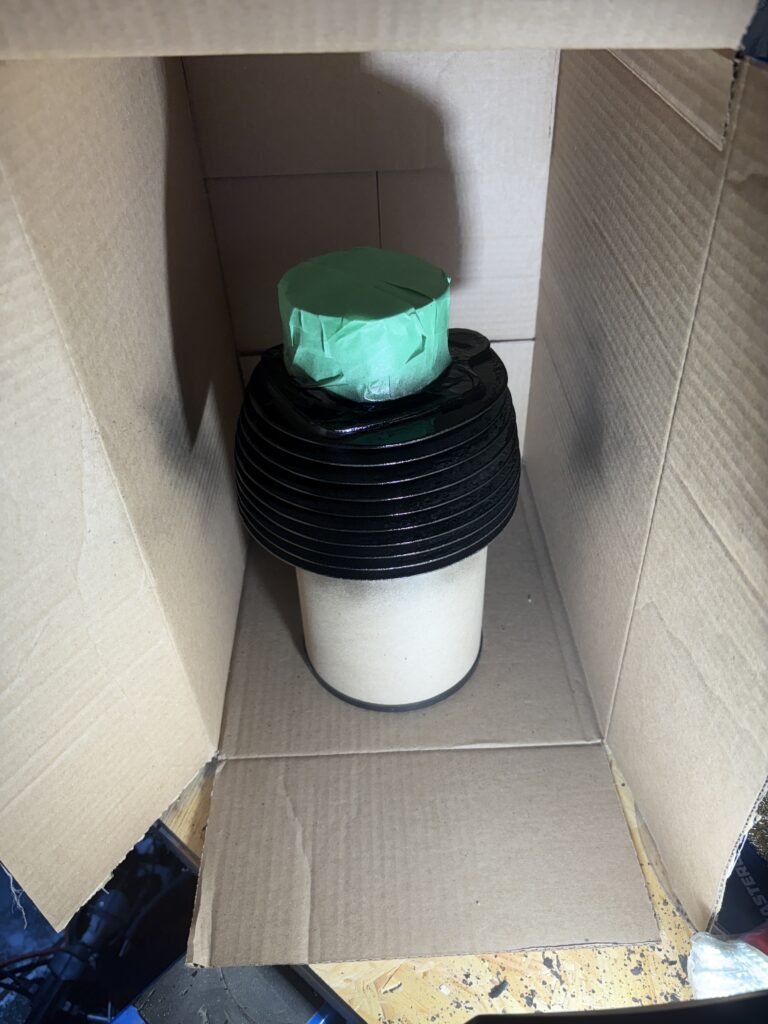
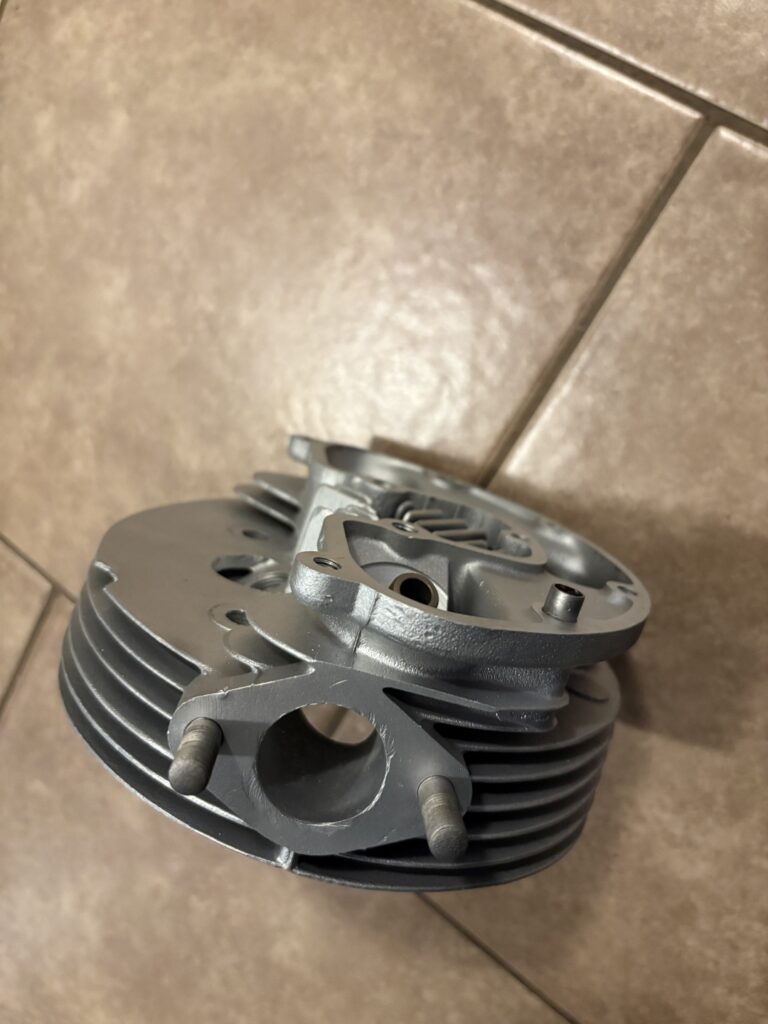
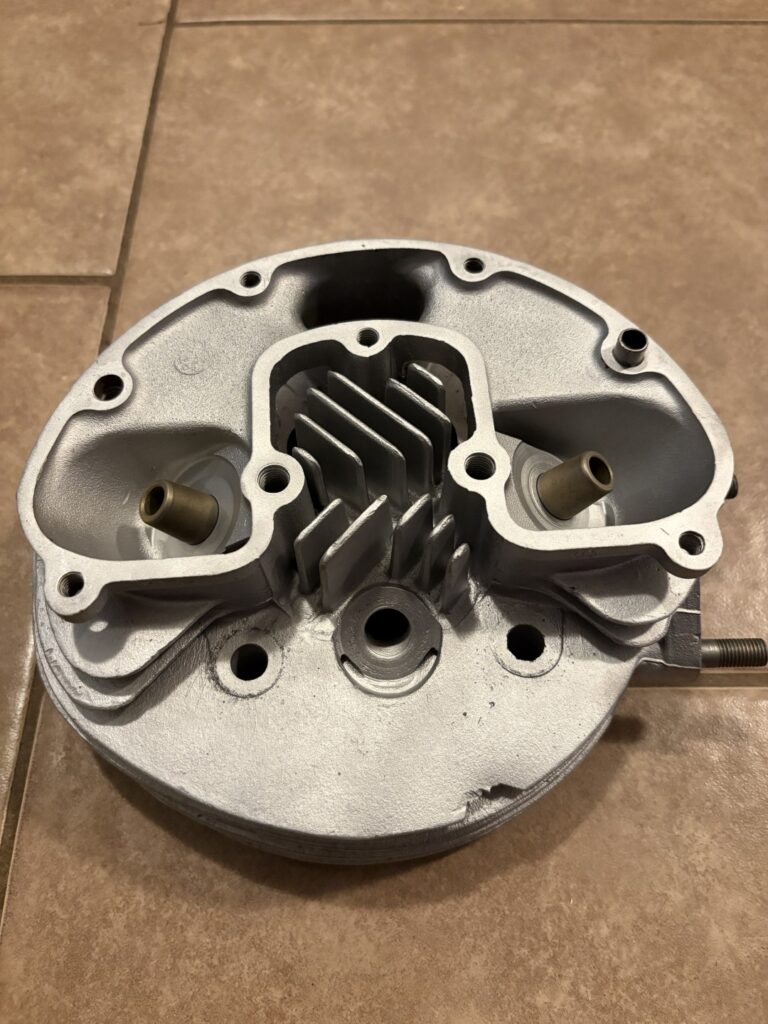
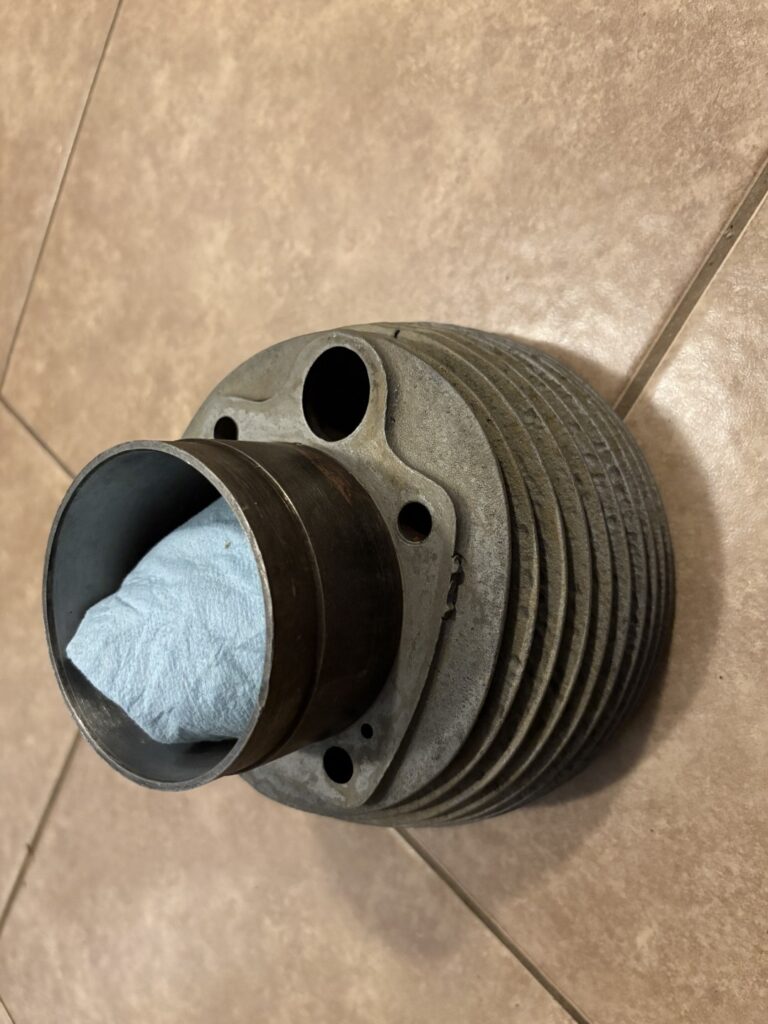
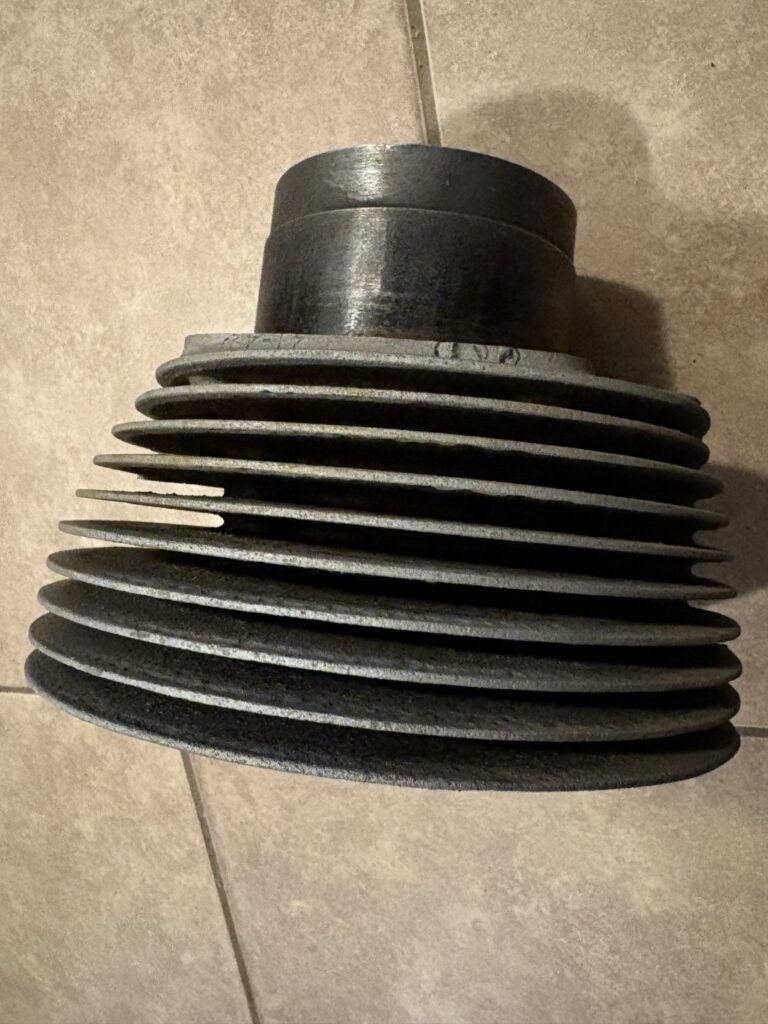
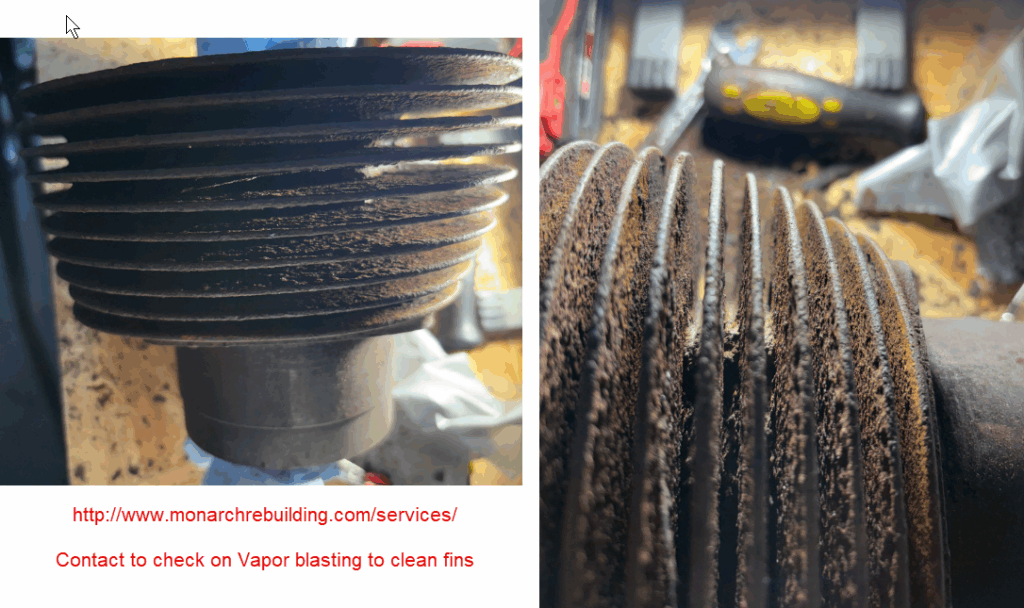
I also started on a few other parts today. First pass was with the 3M wheel, then I attacked them with some 80-grit paper. After chatting with someone from the CVMG (cheers Sean!), I think the smarter move is to take these and a few other bits over to the glass beader who did my head.
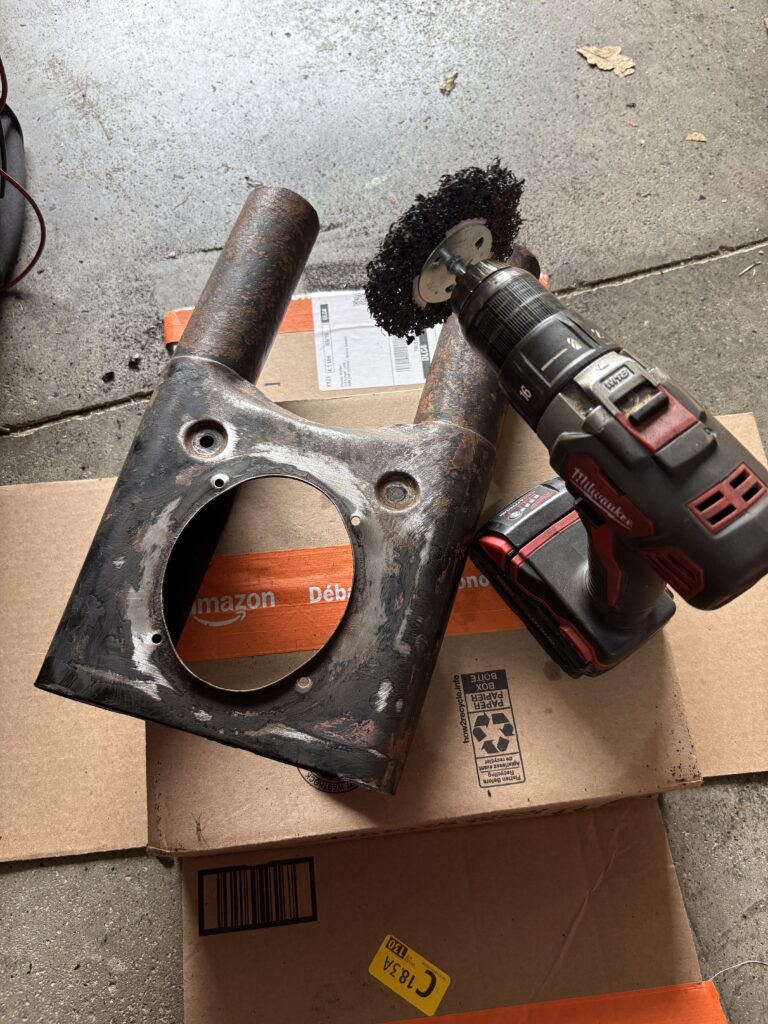
It’s mighty time consuming doing it by hand, and if I don’t get right down to bare metal there’s always the chance some wee patch of rust hiding in a pit starts chewing away from the inside out. Sneaky wee bastard, rust. Leave it alone for a minute and it’ll eat your pride and joy while you’re busy making tea.
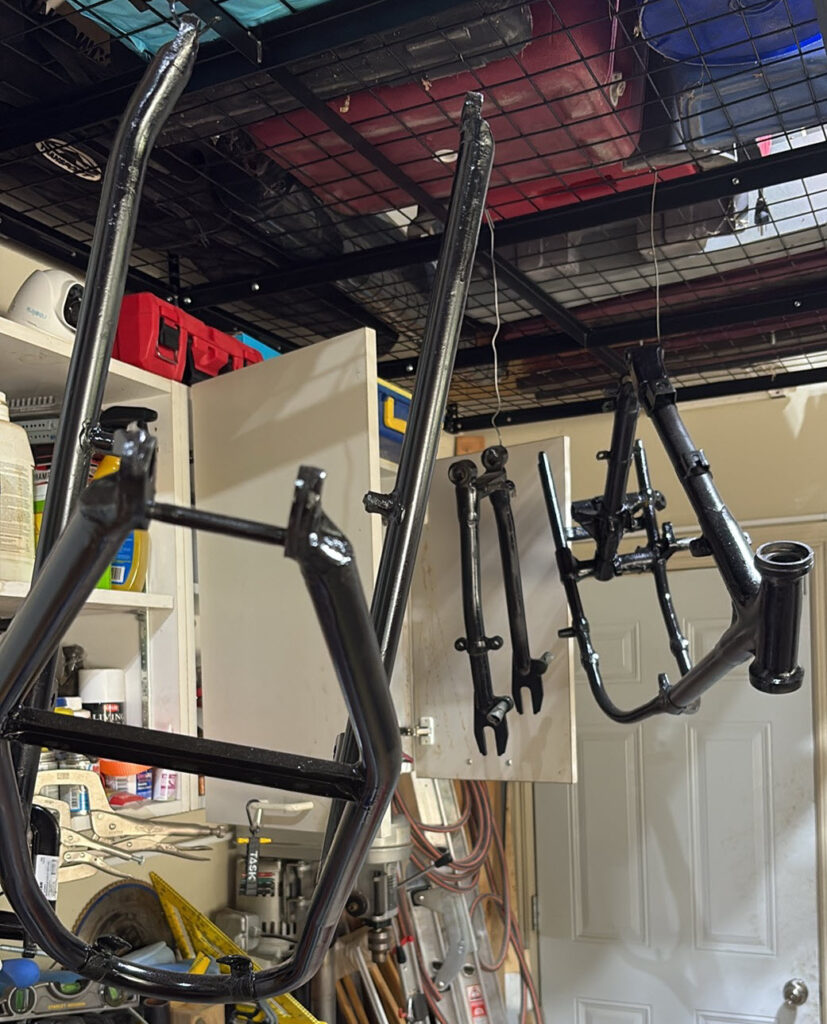
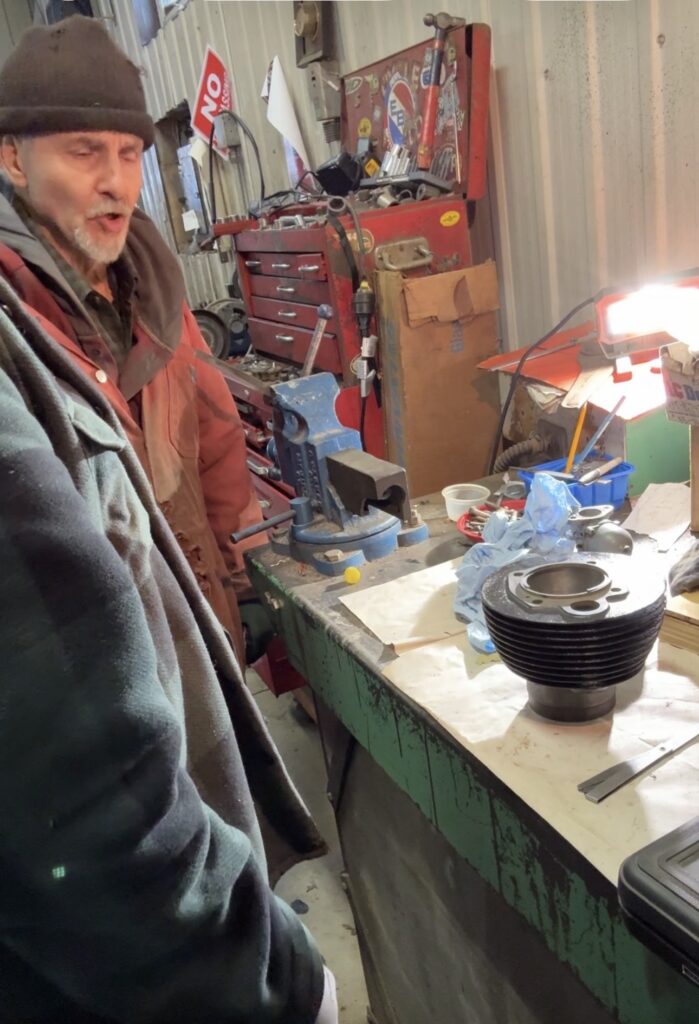
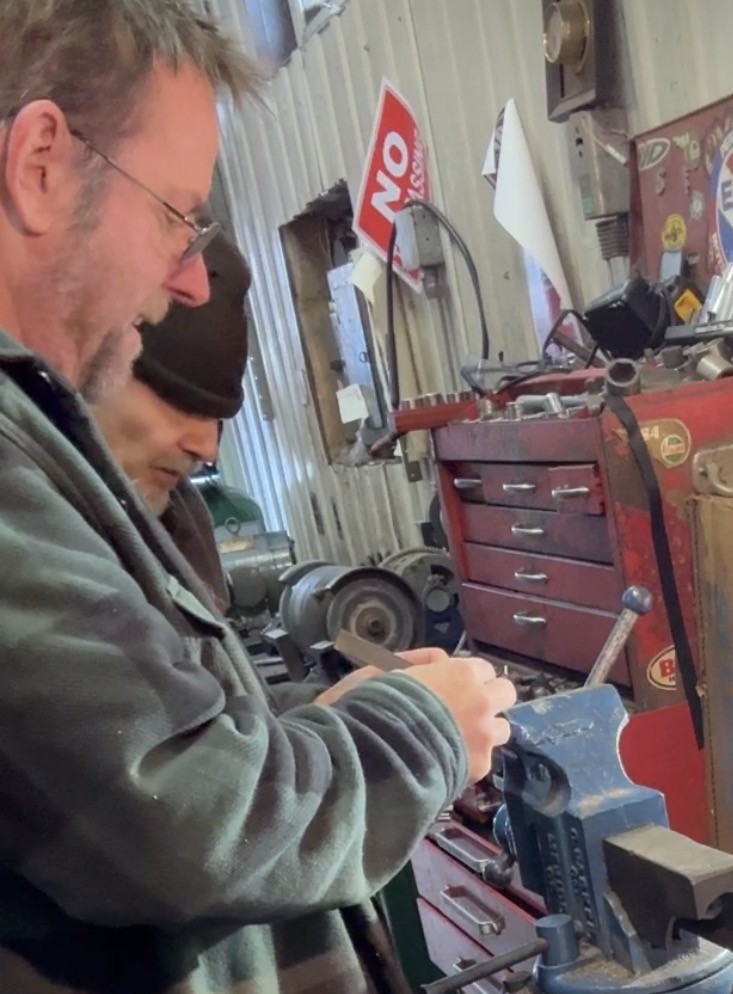
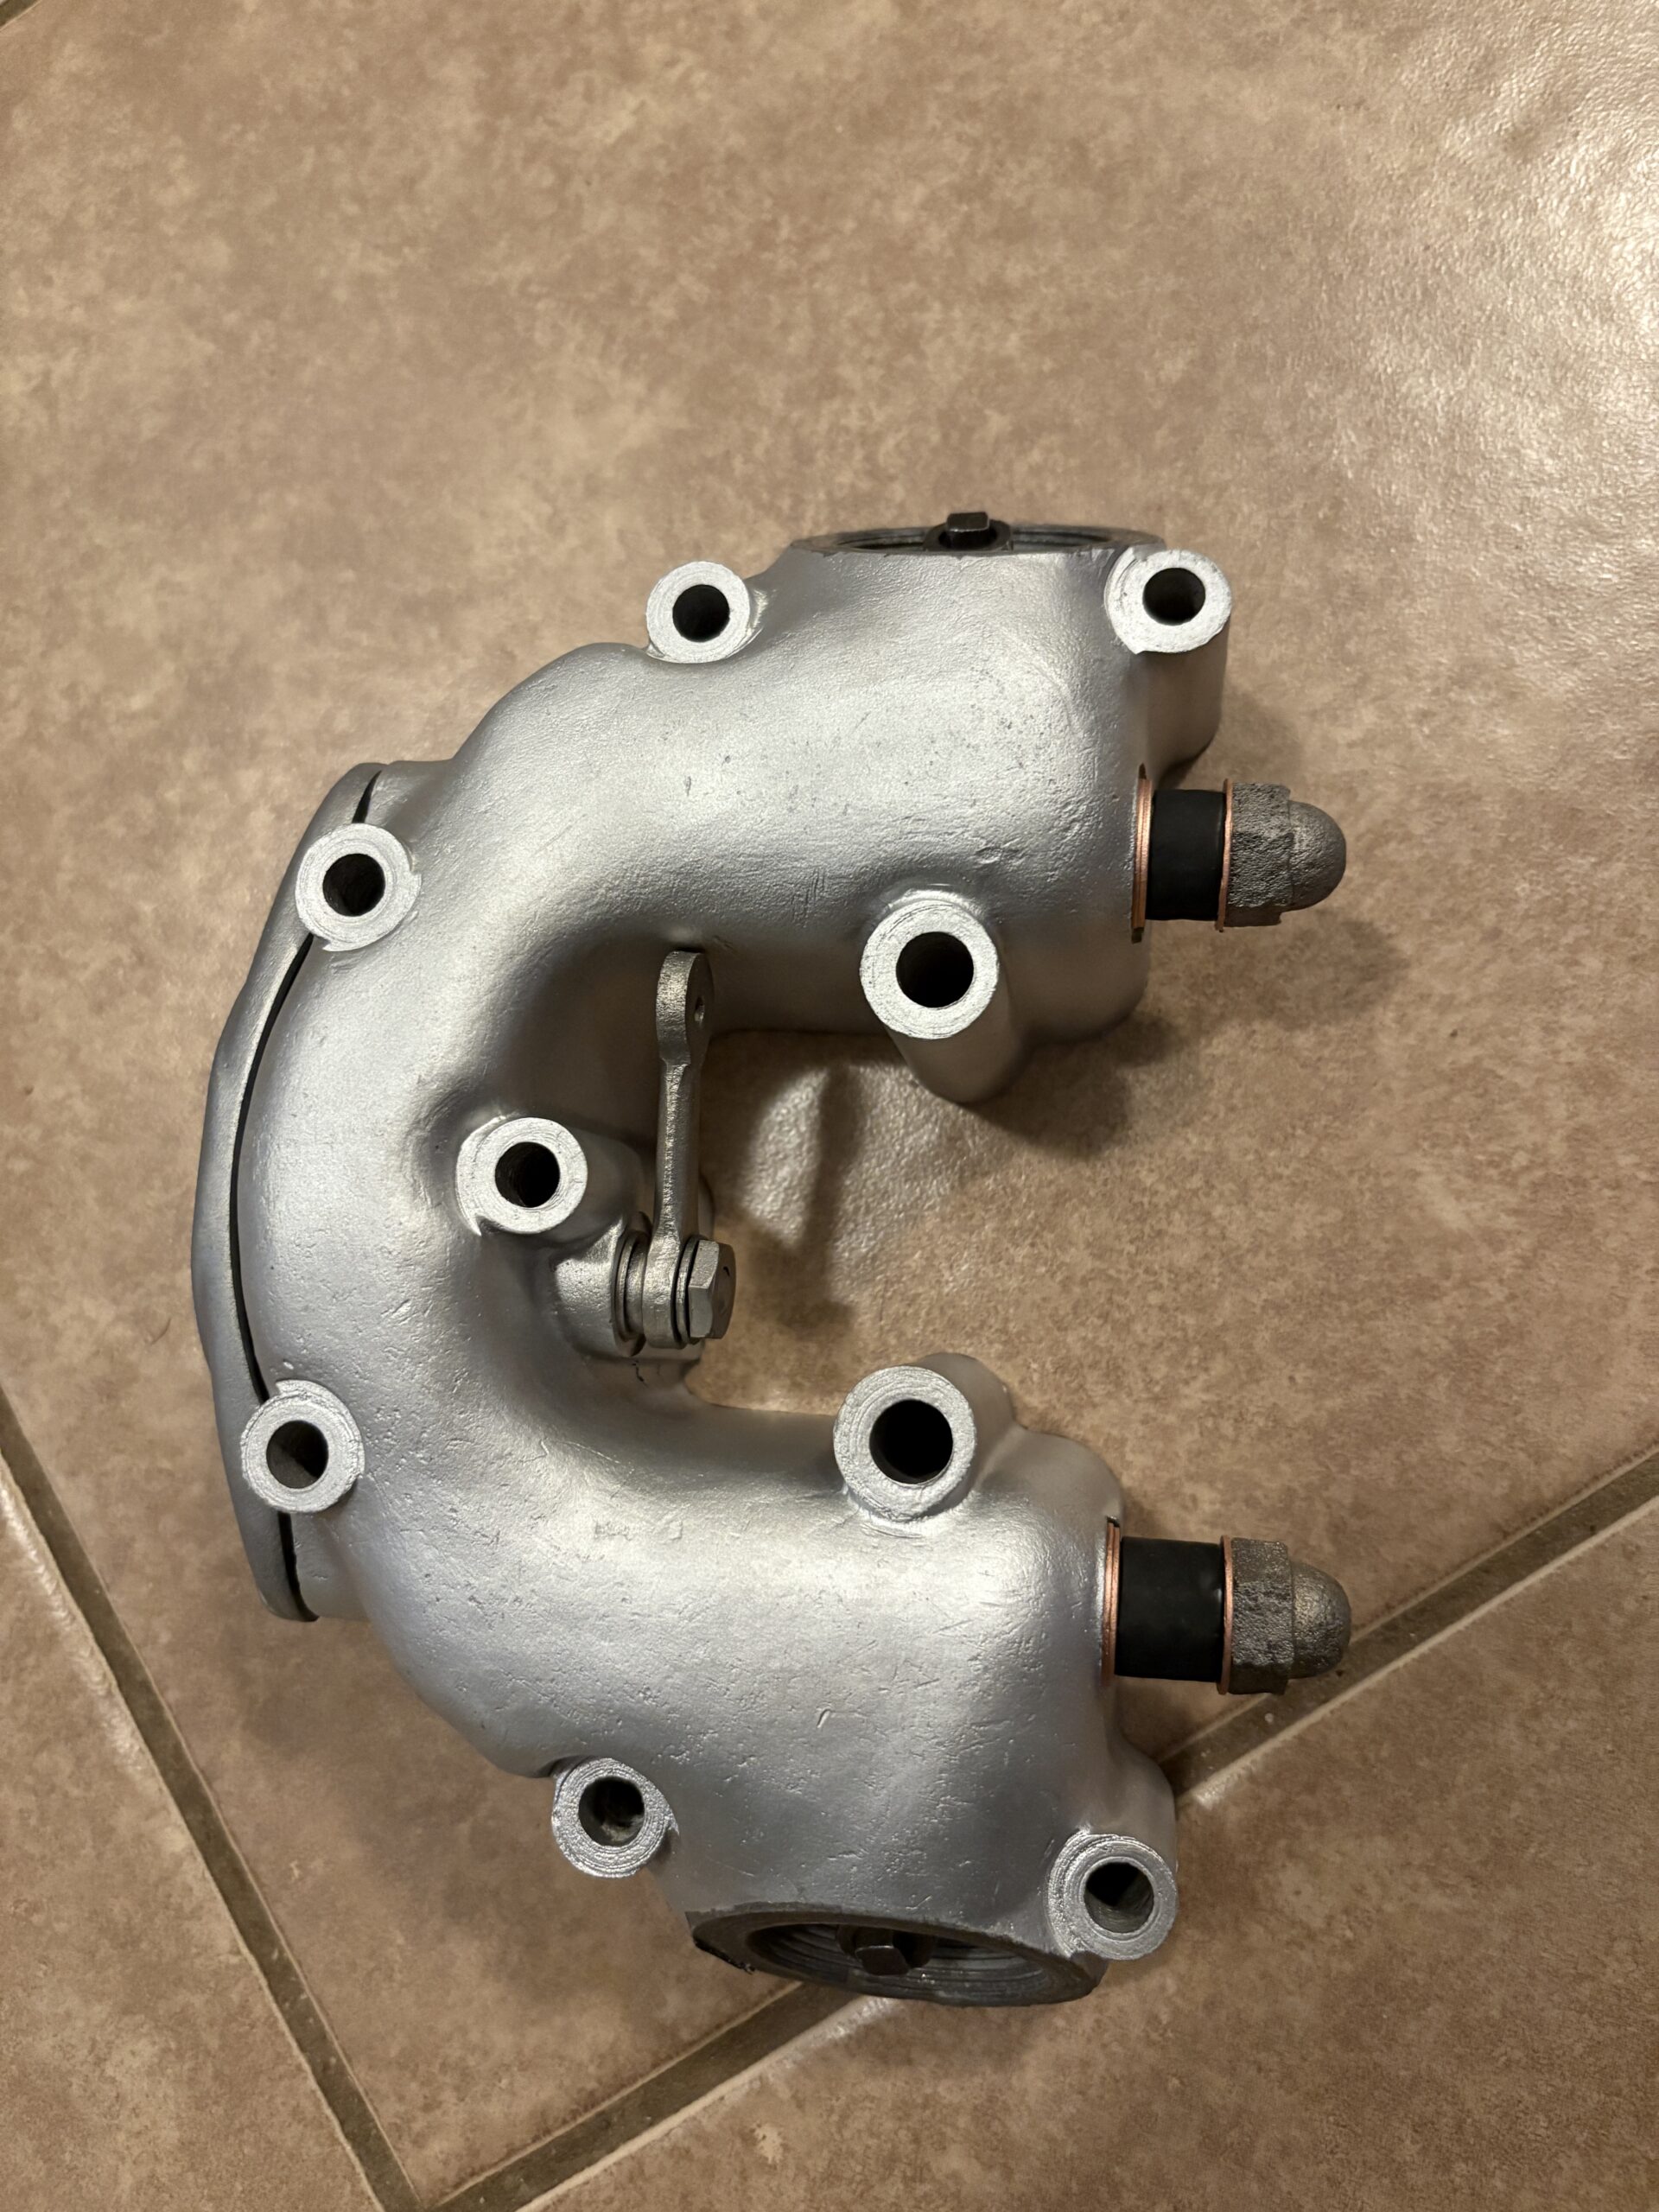
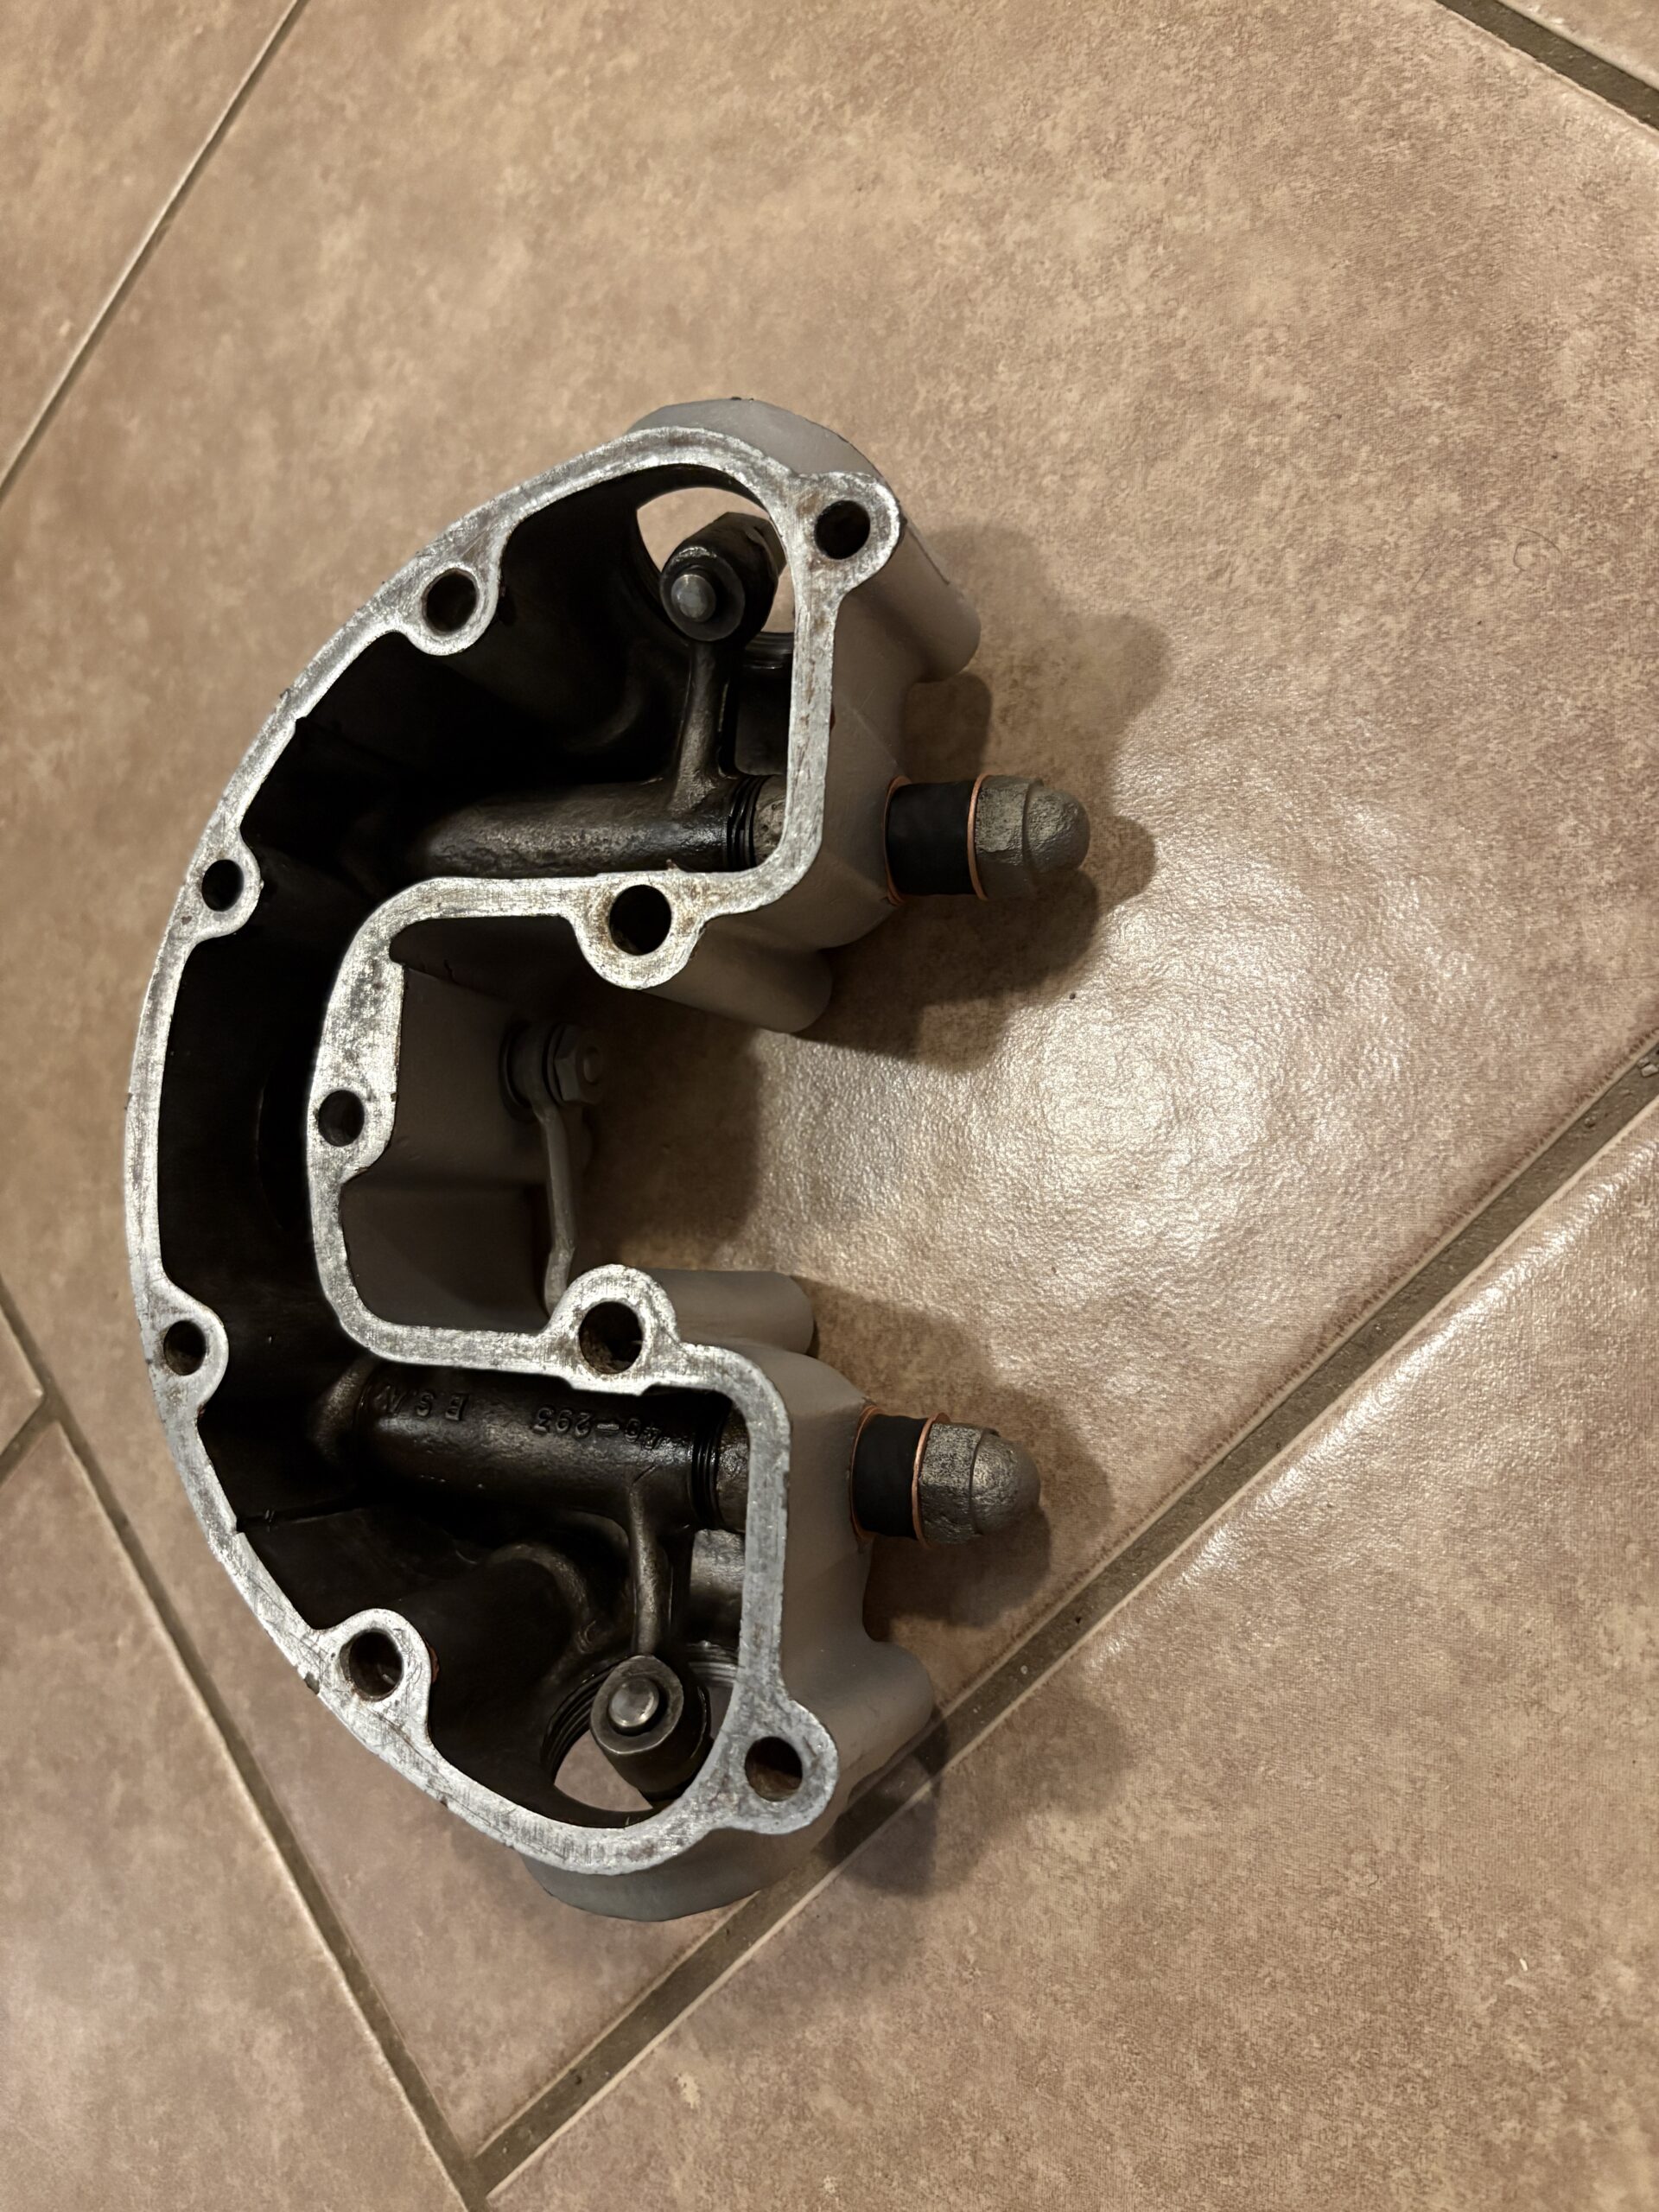
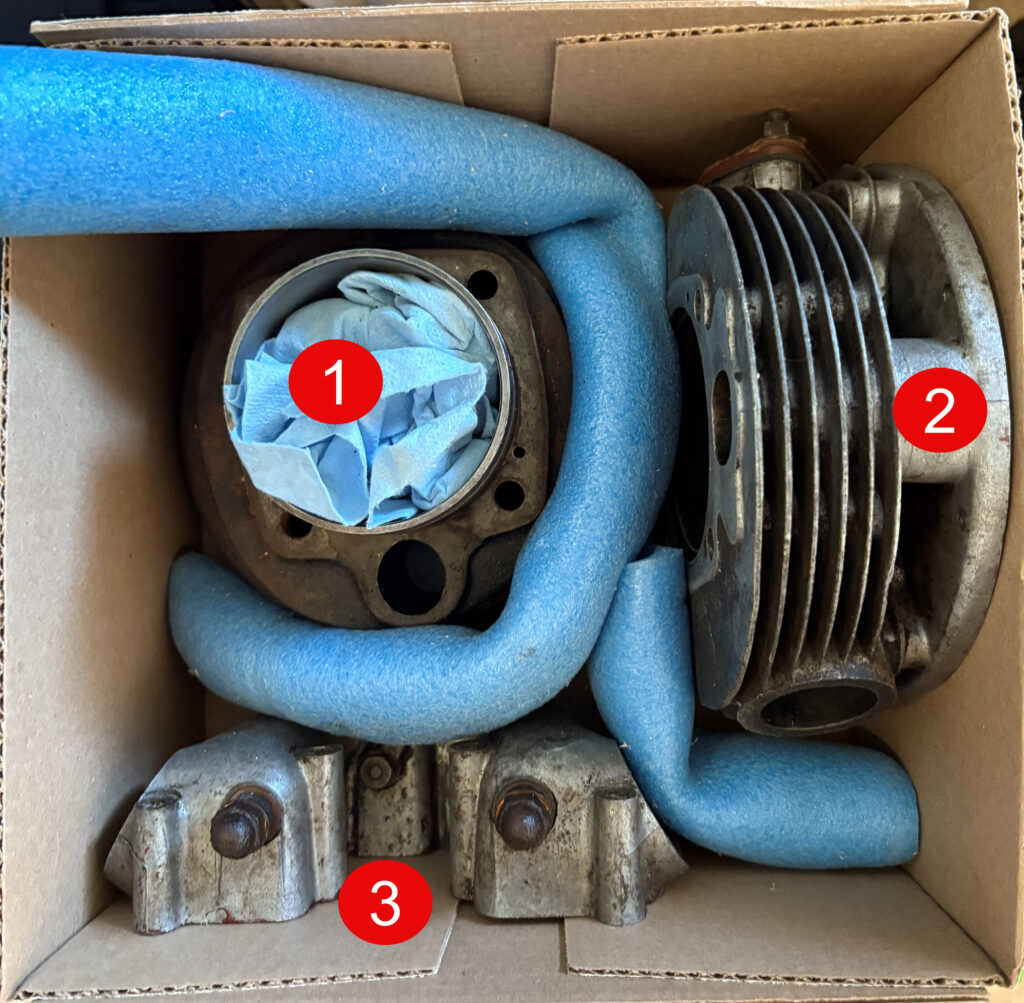
The frame parts are still hanging there exactly where I left them over winter, looking at me as if to say, “Well then, are ye ever going to finish this thing?” But now I’m finally getting other parts ready to bolt on, and before too long Mario and I will get the engine back together.
And with any luck — and perhaps a small miracle from the motorcycle gods — it should slip neatly back into the frame without either of us inventing any new swear words.
We’ll see about that, eh?
Footnote:
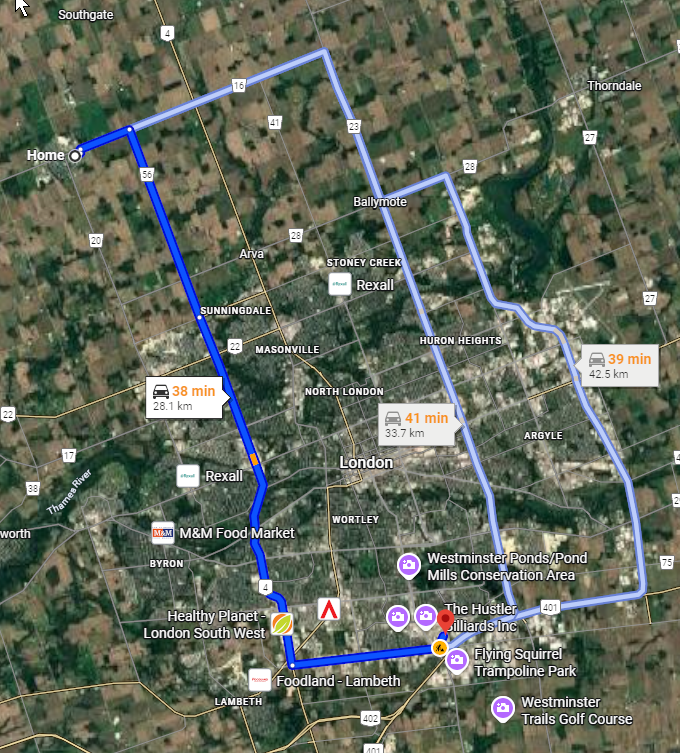
I’m off to the CVMG Rally this weekend and hoping to find a few of the parts still missing from the wee B40. It’s the biggest swap meet of the year (Along with other fun meet and greet events), so the odds should be in my favour.
That said, hunting for old British bike parts is a bit like fishing in Scotland — ye can spend all day standing in the rain, come home empty-handed, and still convince yourself you had a grand time.
So here’s hoping I come back with pockets lighter, boxes heavier, and at least one part that I actually went there to buy.
Fingers crossed… and toes too, just to improve the odds a wee bit. 😄