“The Goose Neck Ballet — Featuring Fire, Sweat, and Forty-Eight Little Devils”
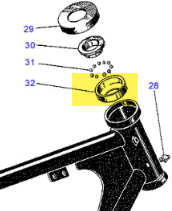
Today was the grand occasion — the day the goose neck bearing races were to come out. Now, if you’ve never had the pleasure, the “goose neck” is that proud bit of the frame where the steering forks pass through — the backbone of the beast. On top and bottom, you’ll find bearings. In the B40’s infinite wisdom, these aren’t modern, civilized caged bearings — oh no — they’re 48 free-range, unrestrained little ball bearings rolling wherever they please (they bounced around my floor when removed earlier and .
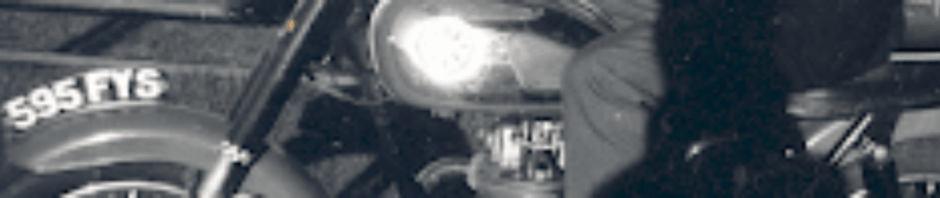
This image helps to understand the Goose Neck reference.
Upon earlier disassembly, I found the races inside the frame looking like the surface of the moon — pitted, scarred, and most definitely past their best-before date. I was also short two of the 48 balls, which I can only assume gave up sometime in the last 55 years, vaporized into bearing dust, and helped carve out those pits as a parting gift.
Now, before I got too medieval on the goose neck, I did what any sensible person would do — I bought the proper tool. A tidy little contraption that expands behind the bearing race, letting you drive it out with a drift — clean, precise, professional. About twenty bucks well spent… or so I thought.
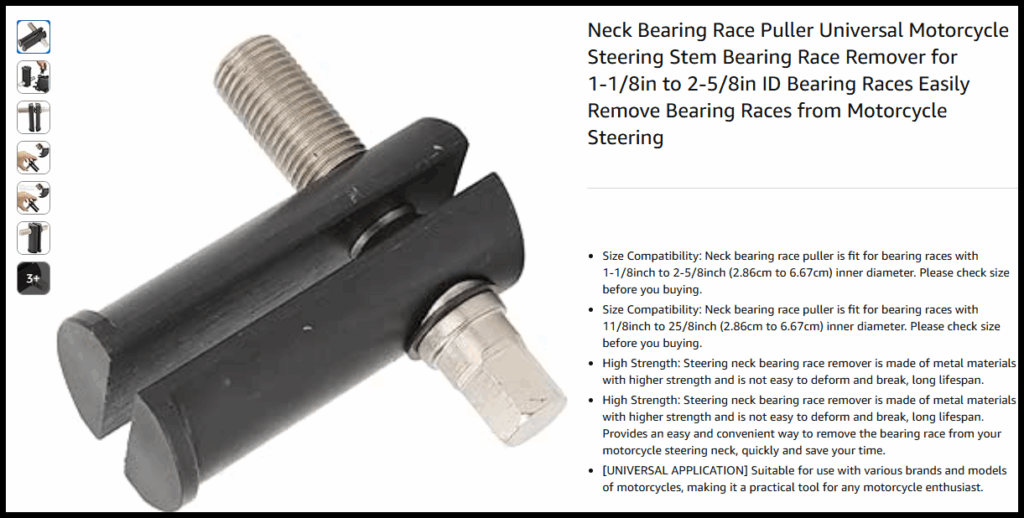
The idea is simple enough: keep the race coming out straight so as not to gouge or kink the bore. Easy to say, harder to do when everything’s tighter than a Scotsman’s wallet on payday. I found out there was no lip to hook on and so back to the blank canvas.
So there I was at our usual Saturday CVMG coffee meet at McDonald’s, lamenting my wasted $20 investment, when one of the lads pipes up and says, “Why bother with that fancy gadget? Just throw four wee spots of weld on the race — when it cools, it’ll practically fall out.”
Aye, right.
Apparently, this is a known method, backed by the collective wisdom of several gents who’ve done it “loads of times.” I’d even seen a reference video (see my previous post), so the theory was sound — in that “what could possibly go wrong with welding near your frame neck?” kind of way.
Still, the peer pressure of McDonald’s coffee club is strong. And if a bunch of vintage bike lads say it works, well, how could it possibly go sideways?
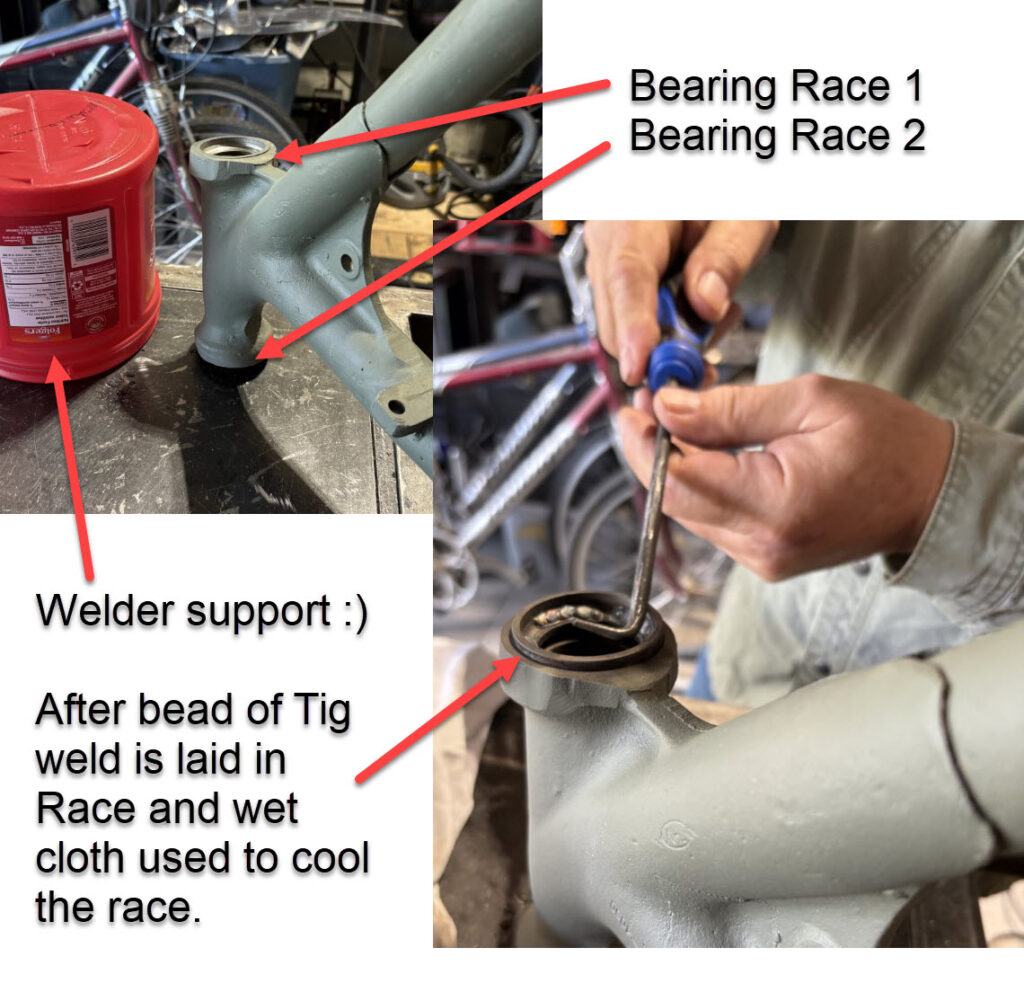
No Video, but a few action shots of the proecess. The Red tub is for arm support to assure No video evidence of the operation (probably for the best), but there are a few action shots from the scene. The red tub in the photo wasn’t a random prop — that was my improvised armrest, there to steady the hand and make sure the weld only went on the race, not into the frame.
Precision, you see.
In the photo, you can make out the weld bead — two or three neat little spots — and after a quick chill-down with a very wet rag, the race obediently loosened its grip. A small screwdriver and a pick did the rest. Out it came, smooth as you please.
A huge thanks to my neighbour Steve — a retired pro welder who wisely gave a verbal NDA to assure he was not to be implicated if it went wrong.
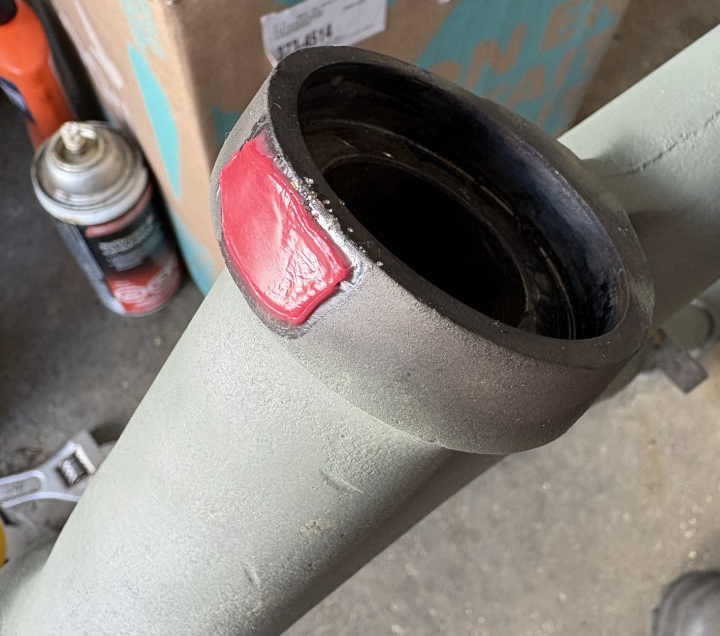
As for the mysterious red patch in one of the shots — I wondered about that myself. Turns out the melting point of a plastic coffee tub is somewhat lower than that of mild steel. My “precision arm support” sagged into early retirement, a small sacrifice to the gods of backyard engineering.
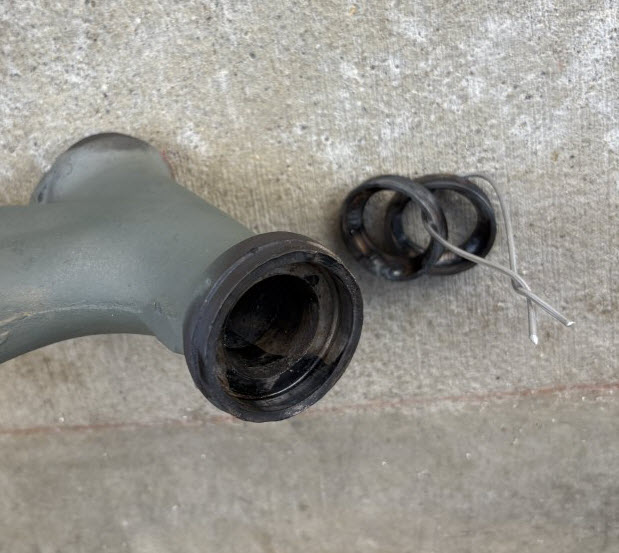
But the proof’s in the pudding — both races now out, no frame damage, and just a wee bit of touch-up needed on the primer. Mission accomplished, with only minor collateral damage and one less coffee tub in the world.
Interesting:
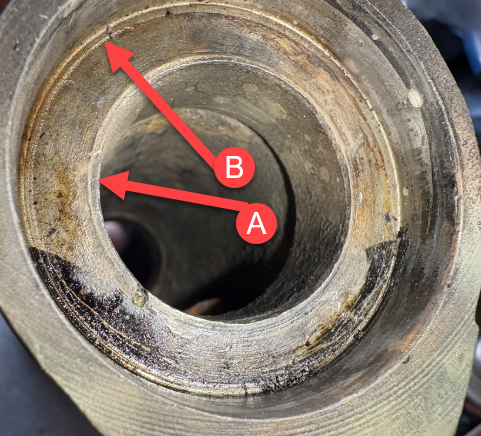
So there you have it — a zoomed-in mystery worthy of a detective. At first glance, (A) looked like a sleeve pressed in, but after some squinting, pondering, and a fair bit of muttering, it appears (A) and (B) might actually be a relief cut — likely done to ensure the bearing race sits perfectly square, top to bottom. A small detail, but exactly the sort of thing that keeps a restorer awake at night, wondering what the lads at BSA were thinking back in the day.
Next step: taking inventory of all the parts on order. I’ll soon be diving into the engine top end, and once the frame’s painted, the rebuild can finally begin. The real fun is about to start — assuming, of course, nothing else decides to “fall out” in the meantime.
Stay tuned — the next act in this ongoing BSA resurrection promises fewer weld burns, fewer missing ball bearings, and (hopefully) fewer melted coffee tubs. But no guarantees.