Was tackling yesterday an issue with the Vulcan 800. Had to 3D print some new components for the rear signals, but that’s another story and maybe I’ll post about that, but want to stay focused on the BSA here.
Today I wanted to get ready to rebuild the front end so had to complete the disassembly. Since I’m down 3 bearings of the 48 and likely the ones left are bad I’m planning 4 new bearing races and new ball bearings. For this I had 3 of the 4 races that need attention.

To the left you will see the race is now dropped from it’s original location. With the neighbor we put it vertical in a vice and then used his torch to heat up the race. Once glowing we poked a flat screw driver in the top gap and it fell from it’s location.
You can see a slight step so putting the new race on it will be critical to get the right size pipe to assure even pressure. Another day.

This is the 4th bearing race which is at the very top of the swan neck and it has a decorative dust cover on it, so this is a direct order / replacement.


The Nut to be removed is shown in the above in yellow and in the actual image to the right. It’s being very stubborn and I was starting to think it was a LH thread, but seems that the foot peg Nuts have an LH stamped on them and this Nut does not. All signs point to it being just stubborn so tomorrow I go to Crappy-Tire and purchase a 1-1/8″ deep socket 1/2 drive so that I can use my pneumatic impact gun.
I found a similar video as it’s a BSA A10 and not the B40, but the wheel is identical and the 7″ FULL Hub, so I suspect it’s relevant. He has a series of these videos on his bike, so will be going through them to see what is relevant. I’m considering doing some videos in the future and edit them down to relevant content.
The front hub is similar to the rear hub was and needs to be cleaned and freed up, so I must make entry :o)
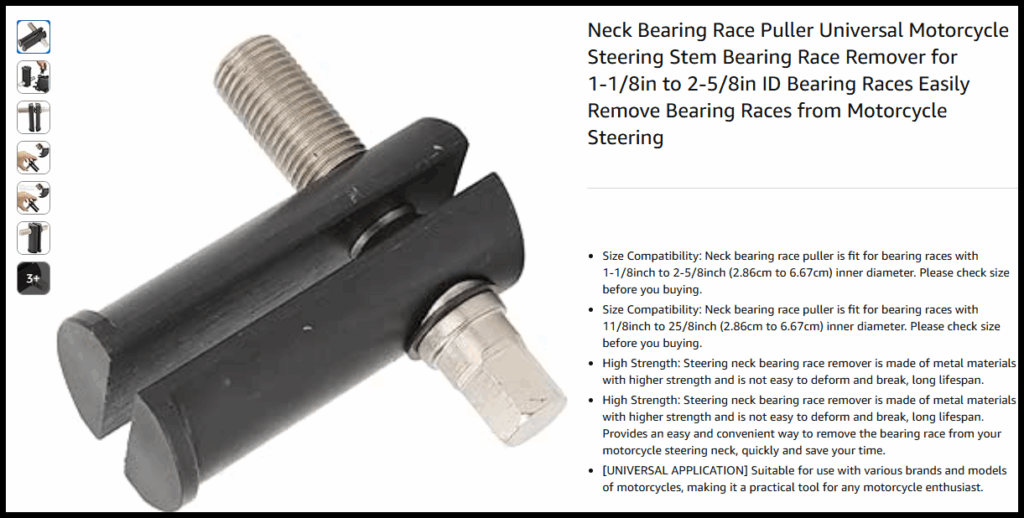

As for the remaining bearing races in the swan neck I’ve ordered the above tool from Amazon which can be used grip the small edge of the race in the neck pipe and then it can be drifted from the other end with a persuasive BFH. My opening is 1-1/4″ so this one should work fine and my neighbor can borrow it in the future for his Vintage BMW.

Another future consideration is whether to remove the swing arm assembly. The arrows point to where there are bronze bushings and the red line is where a spindle goes through.
I’m going to investigate this more as right now the swing arm is moving without any trouble and this assembly might not be worth the rebuild now. The spindle might be useable, but the bushings might need to be replaced and then honed to be true. I also found there was a service bulletin shortly after this frame where they changed from the one grease nipple shown to two at the outer edges… this might be a future strip down and winter repair if it gives trouble… still time to think.
BTW.. the reason for consideration was for powder coating if I went that way as the heat and process might cause issues. I read in this bronze assembly it’s unlikely, but future methods changed where a rubber bushing was within that could melt.
Swap meets coming up, so need to focus on making a list of components I’m looking for and get some basic measurements. Sunday Sept 7 and Sunday Sept 28th… fingers crossed.
Drift it a good one with a BFH. People would stroke out if they knew just how often the BFH or the torch were the tools of choice for repairing their fancy Beamer.