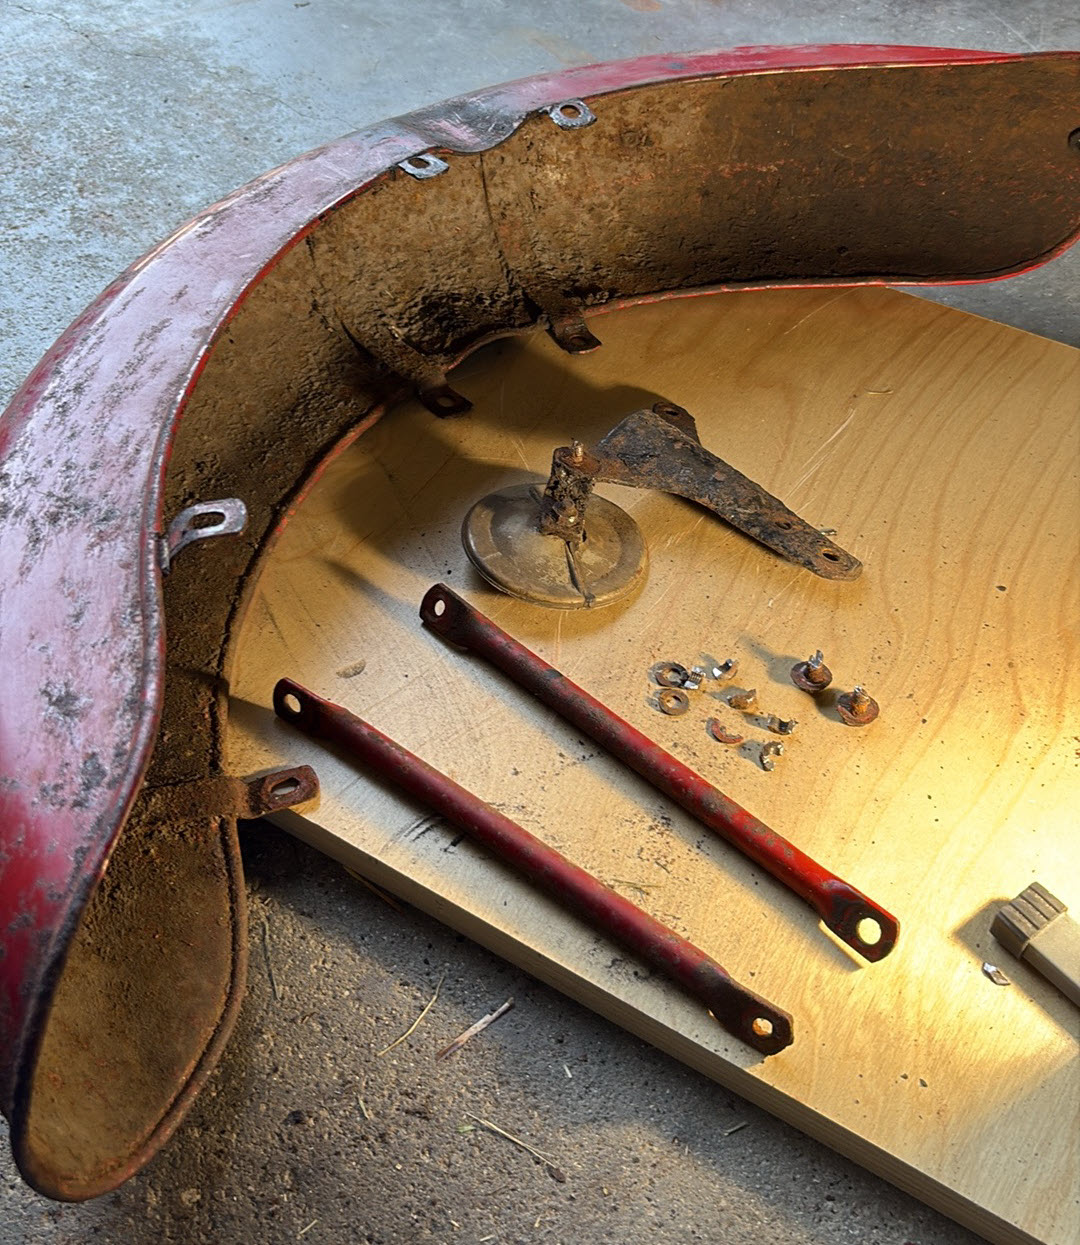
To the left you’ll see the front fend which has the stays now To the left you’ll see the front fender, now relieved of its stays as well as the reflector holder.
It’s been a wee while since the last update. I’d like to claim I’ve been locked away in the workshop making tremendous progress, but the truth is that other things have been occupying my mind — and when I finally did have a bit of spare time, the weather decided to turn the garage into a low-budget sauna.
Even today, with the doors open, the horse flies were absolutely relentless. Scottish engineering has survived rain, cold, oil leaks and Lucas electrics, but I’m not convinced it was ever designed to withstand an Ontario horse fly. A few strategically placed fly strips may have to become the next workshop upgrade.
Persuading the Front Fender Apart
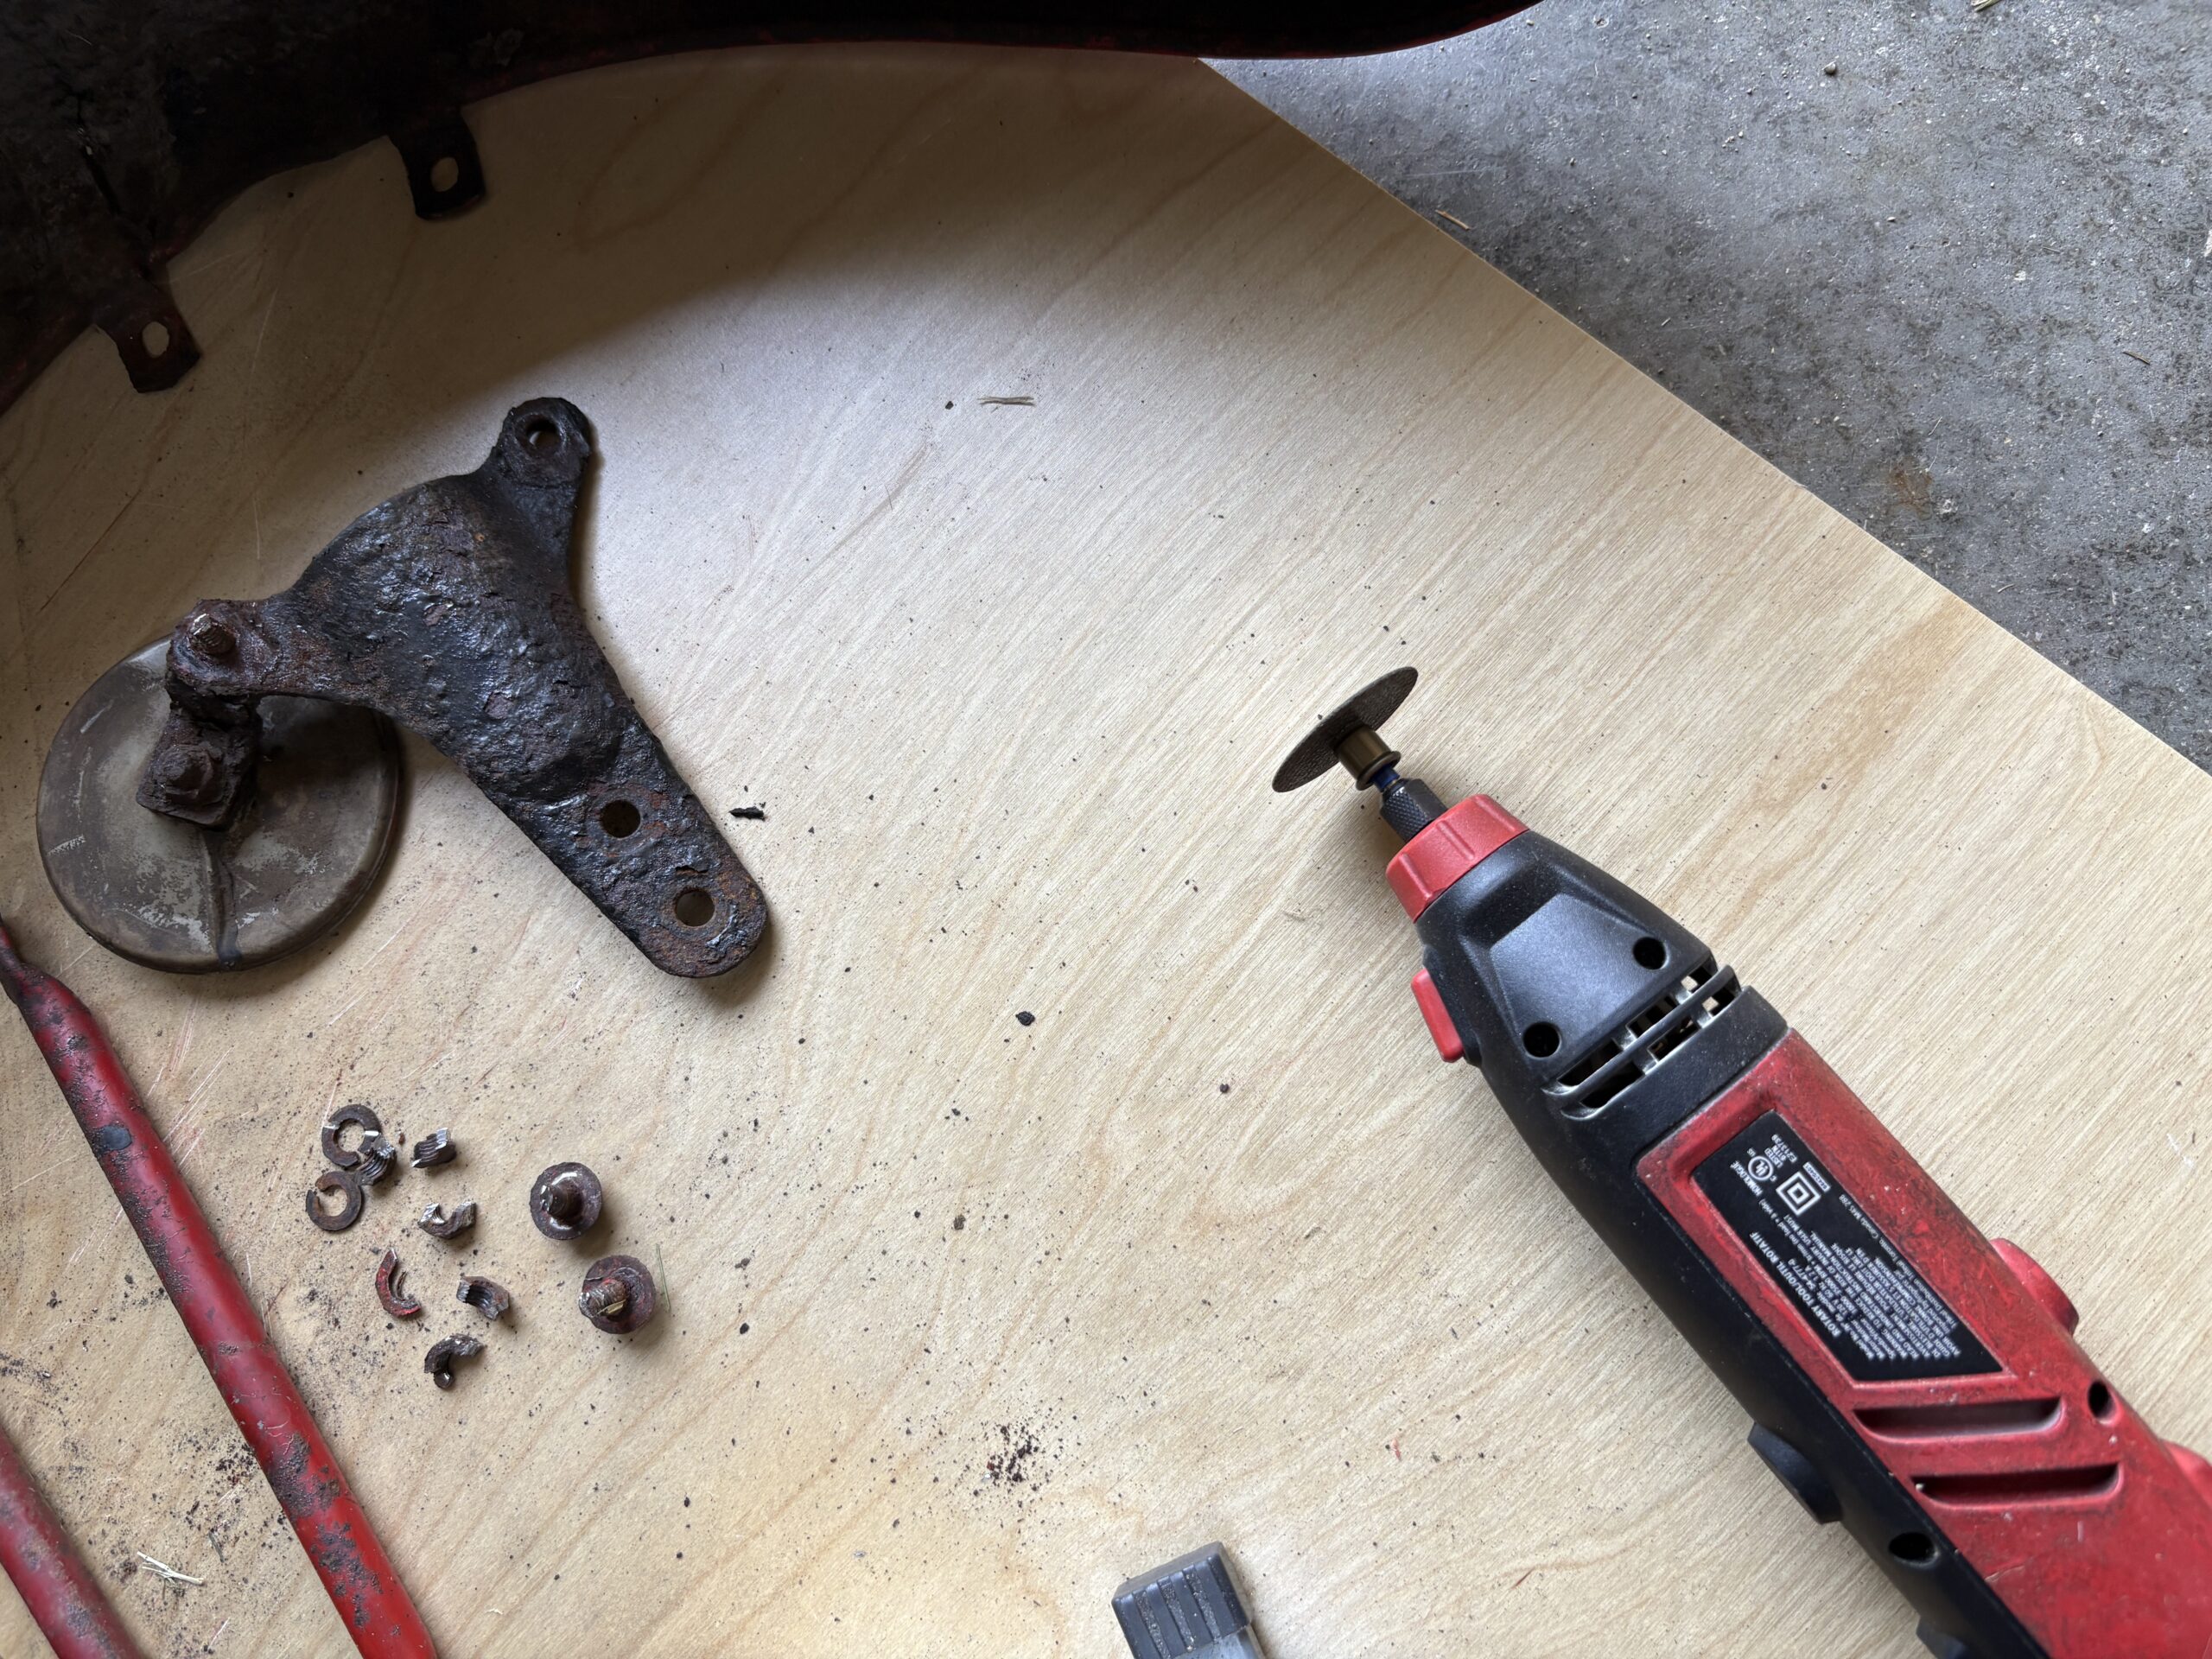
The tool of choice for removing the stubborn hardware was my trusty Job Mate Dremel fitted with a reinforced cut-off wheel.
The approach was fairly simple: rather than continue trying to undo a nut that had clearly decided it was part of the motorcycle for eternity, I carefully removed metal until the nut surrendered and fell apart. Often heat via a torch does the same, but no room for that method
Aye, subtle as a Highland charge — but effective.
I’ll likely put things back together using stainless steel hardware and nylon locking nuts rather than trying to preserve every original British-thread fastener. Somewhere, a BSA purist has probably just spilled his tea, but Version 1.0 of this motorcycle is intended to be ridden, not entered into the Pebble Beach Concours.
I believe the underside of the fenders was coated with a heavy black undercoating which also covered many of the nuts and bolts. Over the years this effectively glued everything together. Any serious attempt to turn the fasteners simply started twisting the sheet metal instead, which seemed like a poor trade.
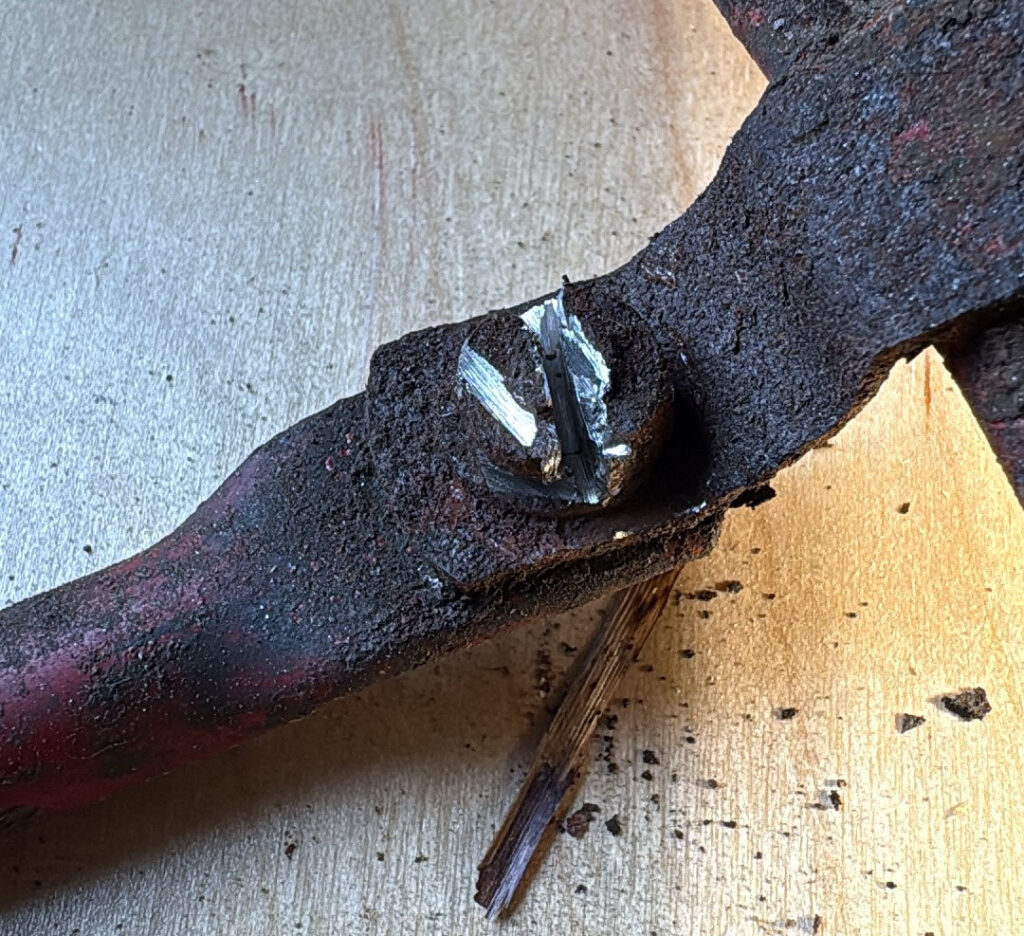
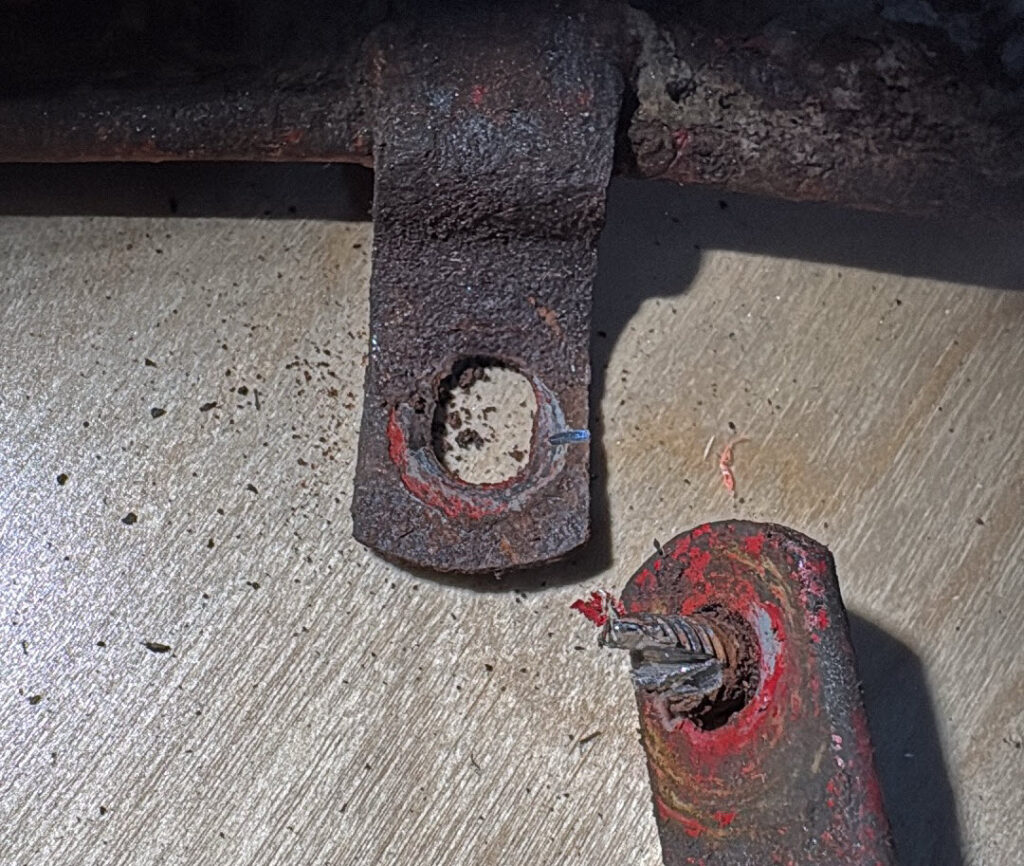
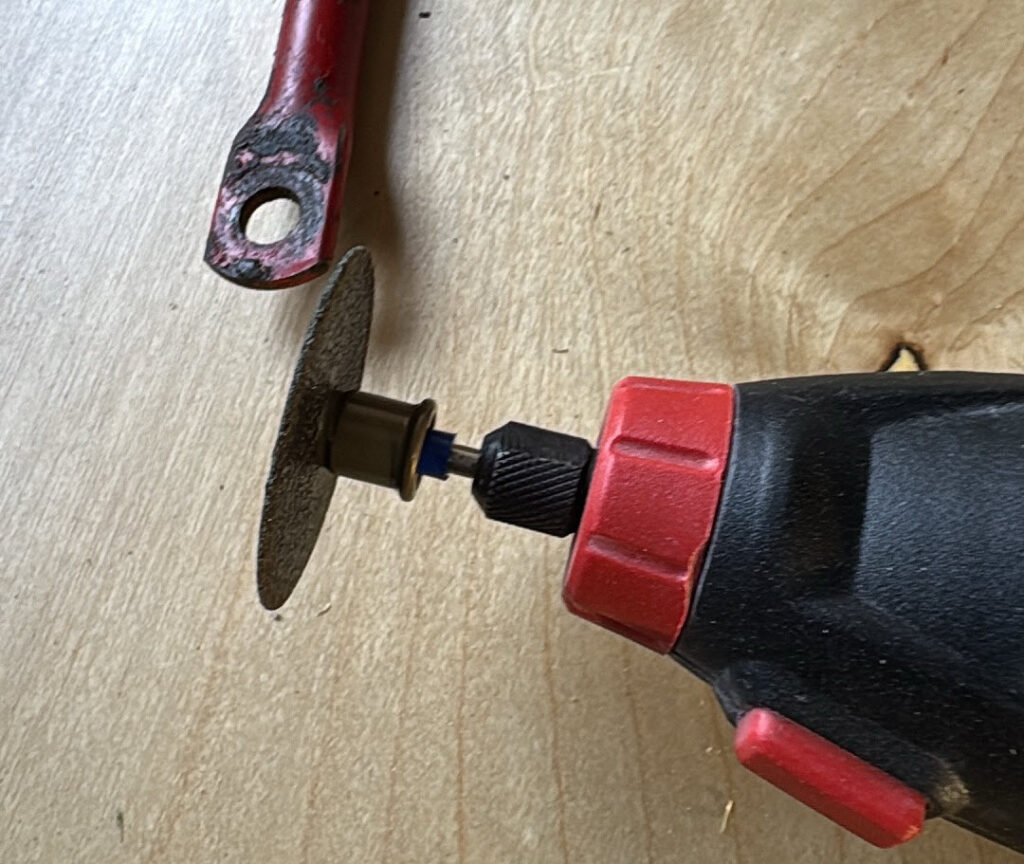
The photos above show the basic technique: careful removal of metal, accompanied by a small spinning disc and the occasional muttered phrase unsuitable for a family motorcycle club blog.
The plan now is to get all of the sheet metal separated and ready to go out for glass-bead cleaning in preparation for primer and paint.
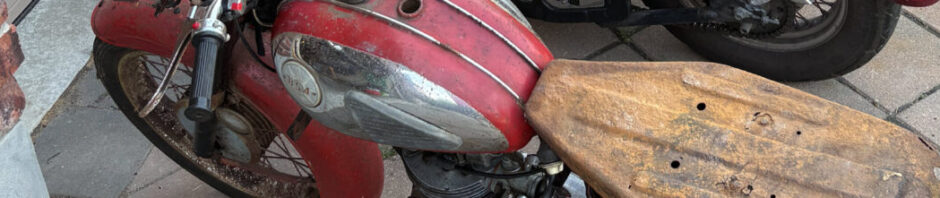
The $30 BSA Seat
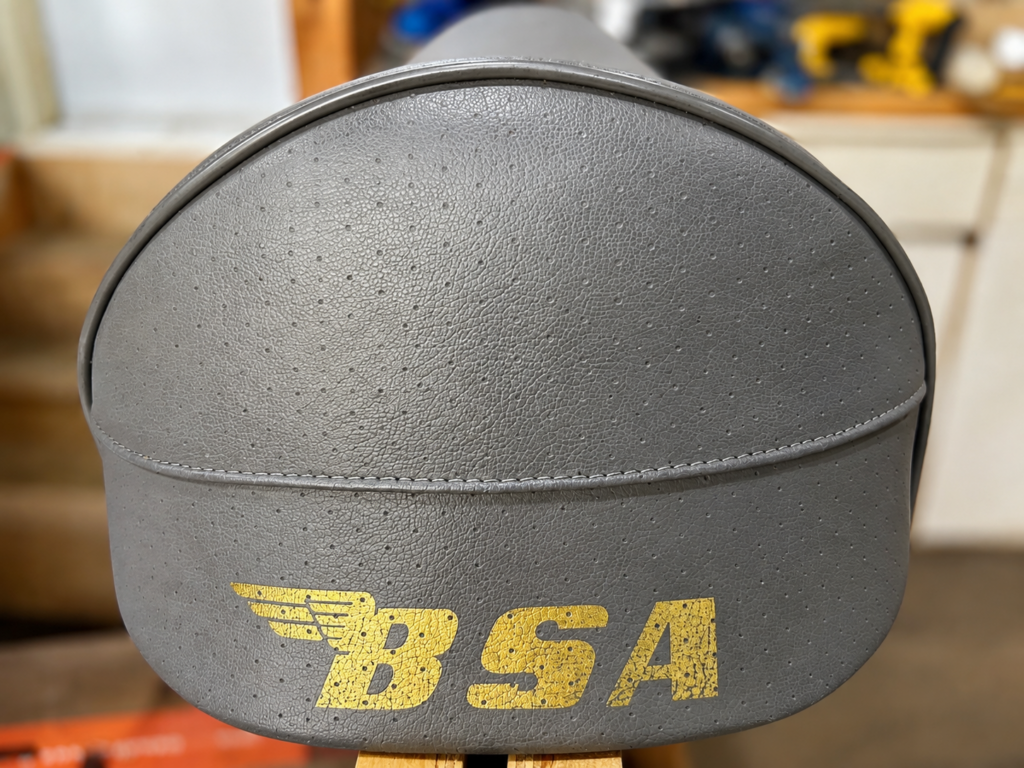
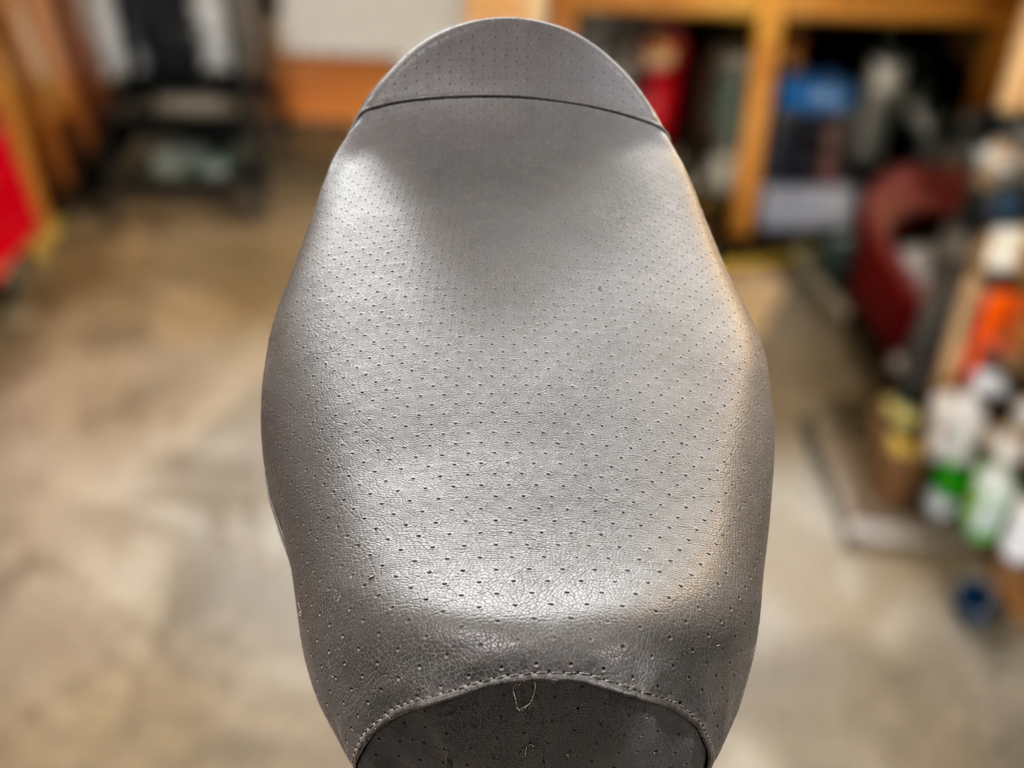
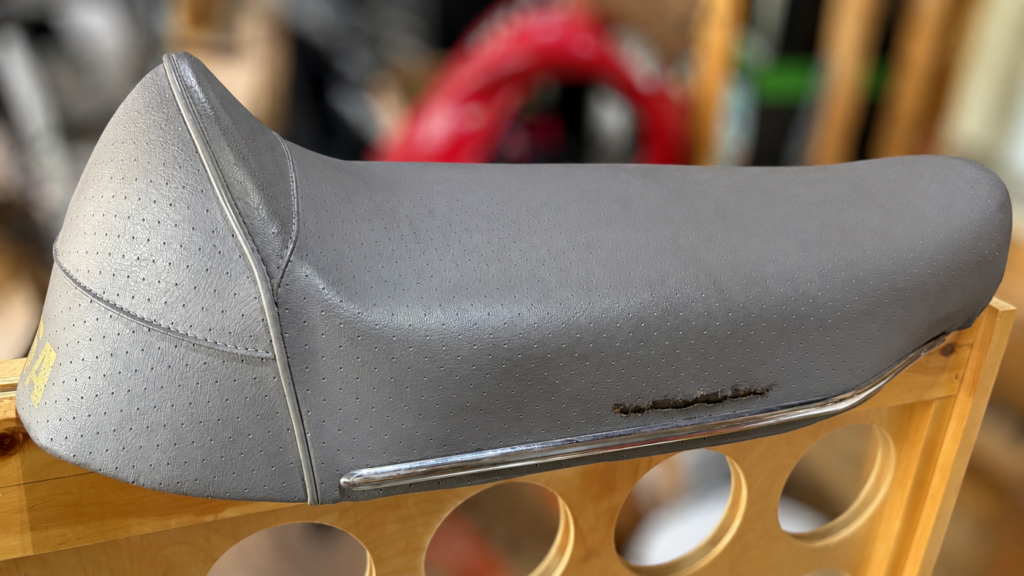
At the recent CVMG Rally I met one of the BSA members who was selling parts at the swap meet. He had replaced the seat on his own BSA after it picked up a minor scrape on the side when the bike went down in a roundabout.
He offered me the old seat to see whether I could make it work on my B40.
The asking price for this generous “donation” was $30.
Apparently Scottish generosity has limits.
Still, it’s actually a very decent seat, and for thirty dollars it could make an excellent temporary solution for what I’m calling Version 1.0 — the first genuinely rideable release of the restoration.
I’m resisting the temptation to call it the beta version. With an old British motorcycle, every ride may technically qualify as beta testing.
Before committing to it, I’ll get the frame back together and confirm that the seat pan can be adapted to fit without doing anything too barbaric. If it works, it should get the motorcycle on the road (with me on it) while I decide what I ultimately want to do about the proper seat.
The Engine Still Awaits
I also need to schedule another day with Mario so we can get the top end of the engine back together.
That will be another significant step, because once the engine starts looking like an engine again rather than a carefully organized collection of expensive metal objects, the project should begin feeling much closer to being a motorcycle.
So that’s where things stand.
I hope you’ve all missed me terribly during the gap between posts. I’ll try not to disappear quite so long before the next update.
With any luck, the next chapter will contain fewer seized fasteners, fewer horse flies and considerably more motorcycle.
But it is a BSA, so I’m making no promises.