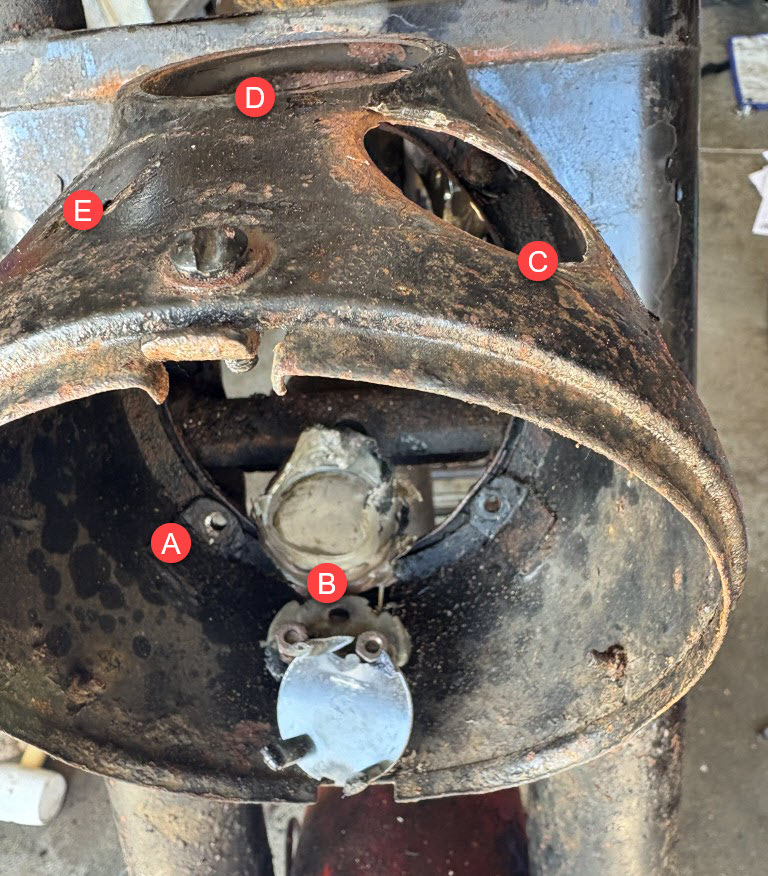
Goal was to strip down the front end and be left with both (A) and (B) as the front suspension removed from the assembly.

…
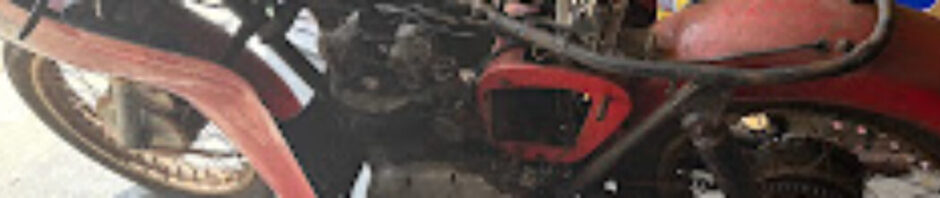
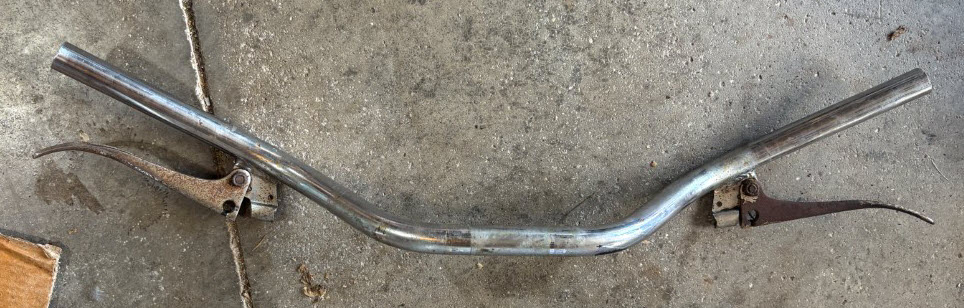
Removal of the handlebars did not pose any issue (easiest part of the day).
The sheet metal (C) will not slide up over or down so essentially the suspension should be removed first.
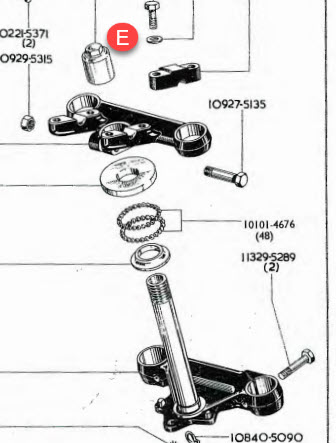
I was looking to remove the Nut at (E) which would allow the top part of the steering yoke to be removed vertically up (allowing (C) to also slide up and over), but after speaking with Douglas Jones his suggestion made the most sense.
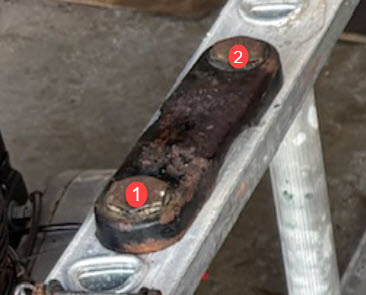
Per Doug’s suggestion I will take the nuts removed earlier from the tops of the tubes and use them to remove the suspension tubes. I will thread them back in down to the bottom and then back them out just 1 thread to keep maximum thread engagement. I can then use a piece of hardwood on top and pound them down (proper assembly support) to push them out of the taper wedge. This can be done for each and should help remove them from the assembly.
With the tubes out of the assembly the sheet metal (C) will slide down and leave (D) and (E) to be removed next.
The nut (E) is now rounded and already the wrench was slipping. (some corner metal was left in Scotland) Will likely need to have help from the neighbor to weld a large nut onto the top of the component (E) so that my impact wrench can be used to release and disassemble the stem.
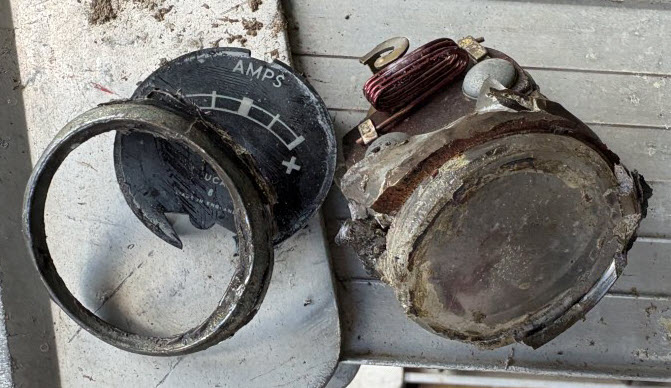
The Ammeter was in spot (C) of the headlamp but it was no longer electrically connected in the circuit (prior issues). The wires were all on one of the terminals, so I deduce that it was already causing some issues prior to storage. The unit was also put in using some type of Scottish goop. I hit it with the heat gun to create soft goop and for sure it started to peel away, but then within a few minutes the ammeter fell apart… guess it was also made of more plastic than I realized. Will be adding one of those to the shopping list :o)
The unit had 4 slot screws and nuts where (A) is shown above equally spaced around the inner ring. Had to get my neighbor over so that we had 4 hands. Two trying to keep the screw head from spinning and two to get the swivel socket on the inner nut and turn it to ultimately snap the bolts. I think all of them broke, but replacing them with small stainless steel nuts and bolts will be the repair.
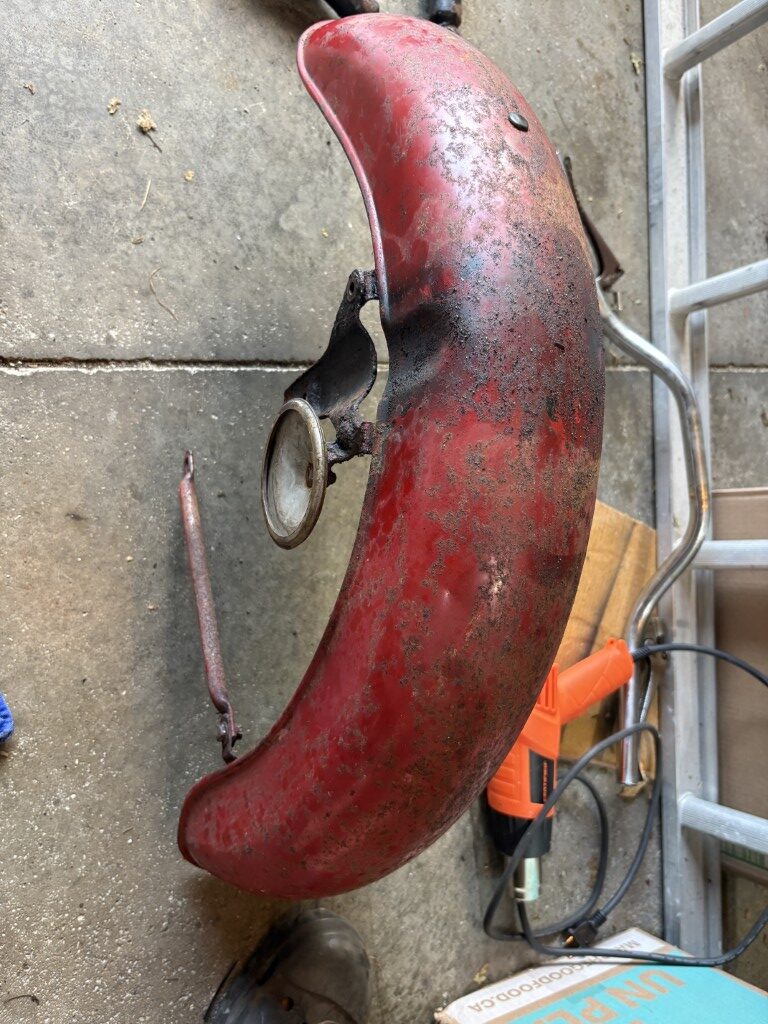
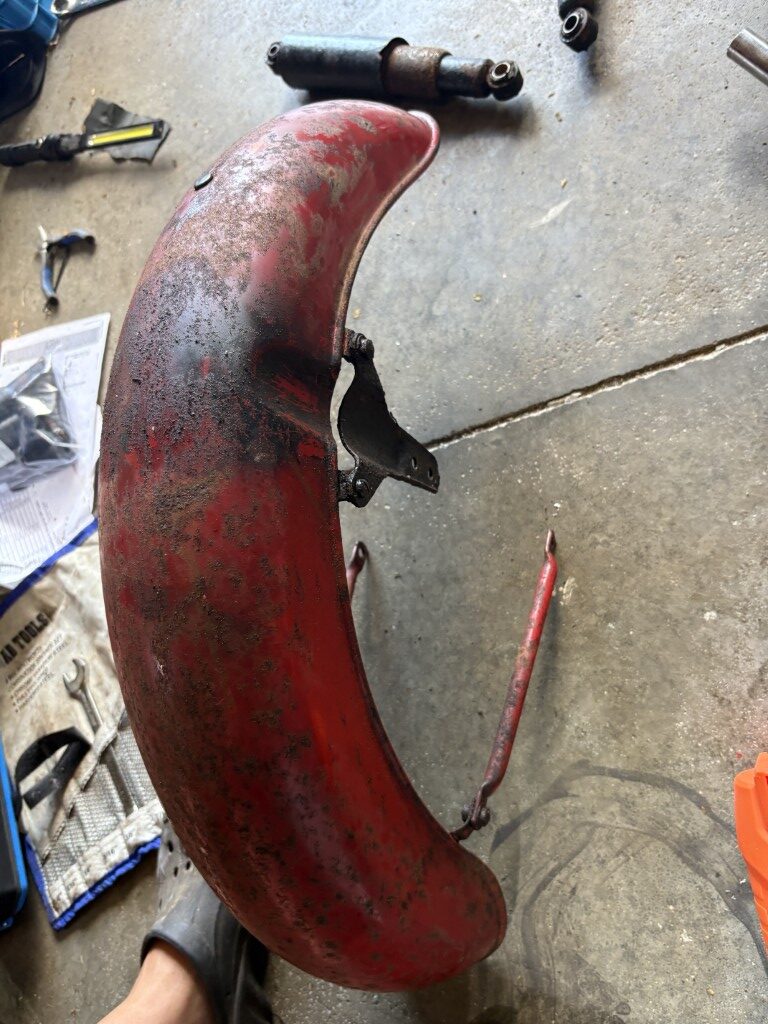
The front fender is removed and now just to remove the components before cleanup. those bolts might not survive the removal process, but are bound to be replaced in order to remove the 50+ years of rust and grime.
The state of the steering column lock nut above did make me aware that Willie had likely done some work to this area during his 10 years of riding fun.
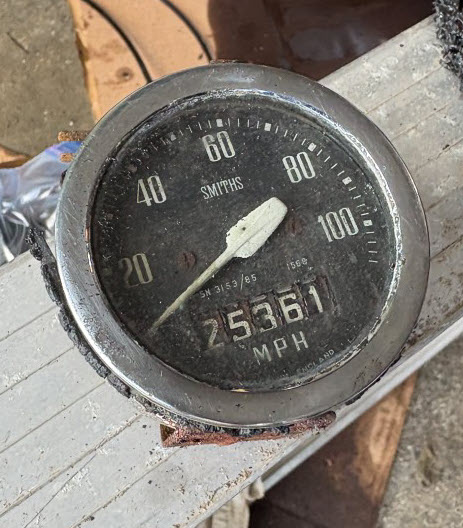
If the odometer is correct and accurate then 25361 Scottish miles was put on this bike which is around 2500 per year. Not bad in the Scottish summers :o)
Off for a CVMG Breakfast in Chatham ride tomorrow, so likely trying to get the suspension removed and the rest of the steering column disassembled tomorrow afternoon. Mario told me to be ready to catch the 48 ball bearings and in the past they would put some magnets around on the floor to help catch the balls. Not too hard to replace but will see if I can get a cardboard box underneath when we start separating the steering column.